|
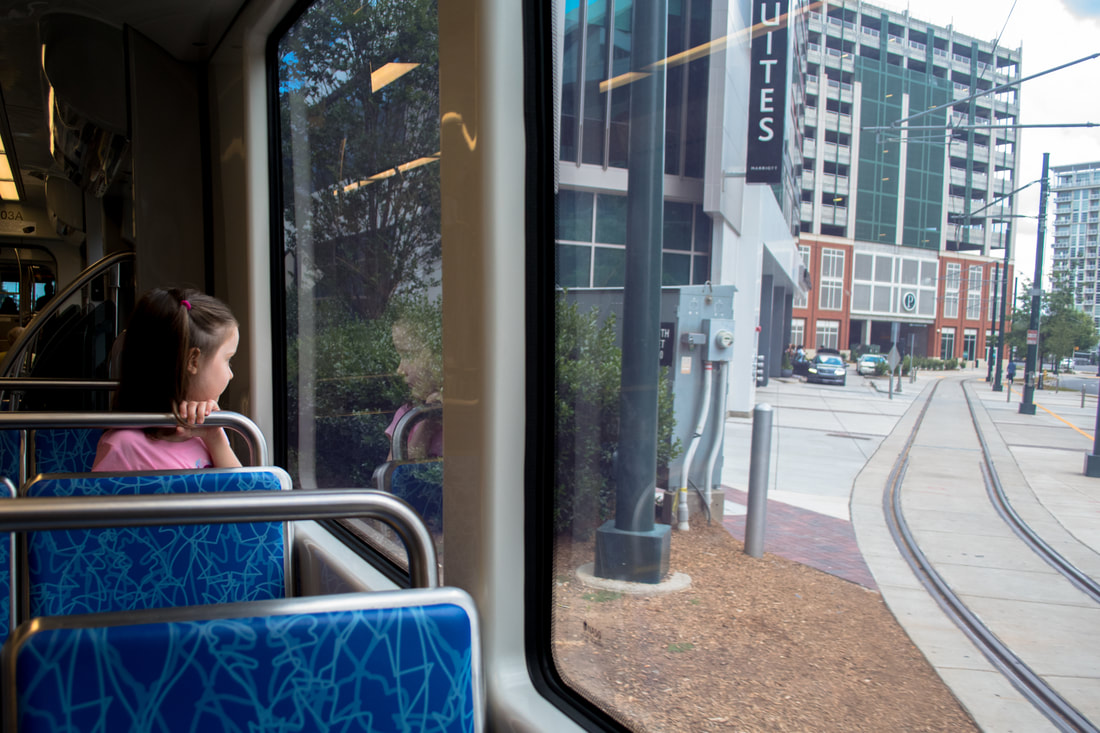
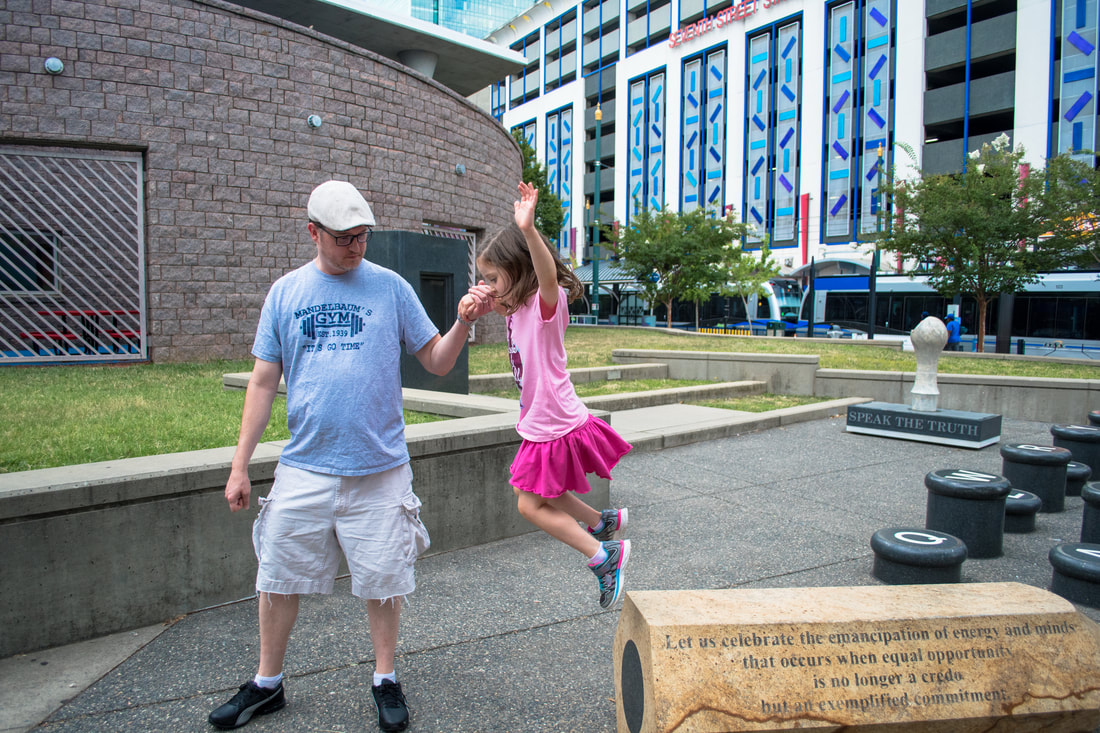
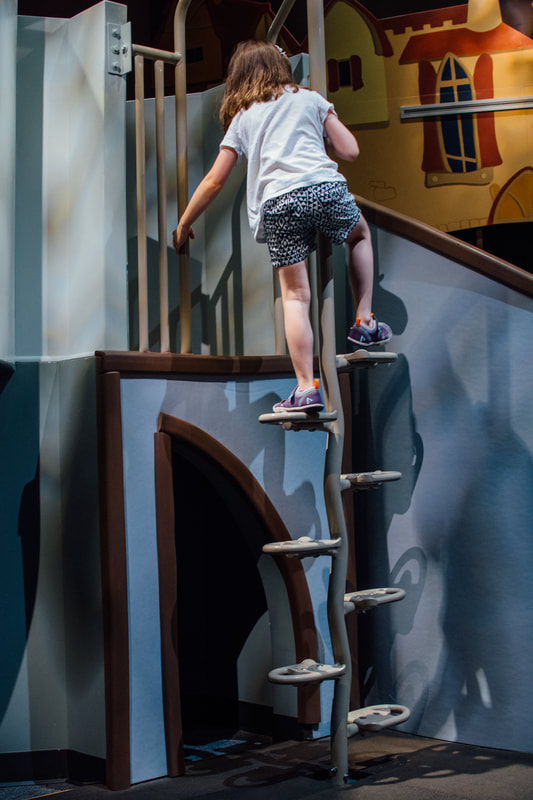
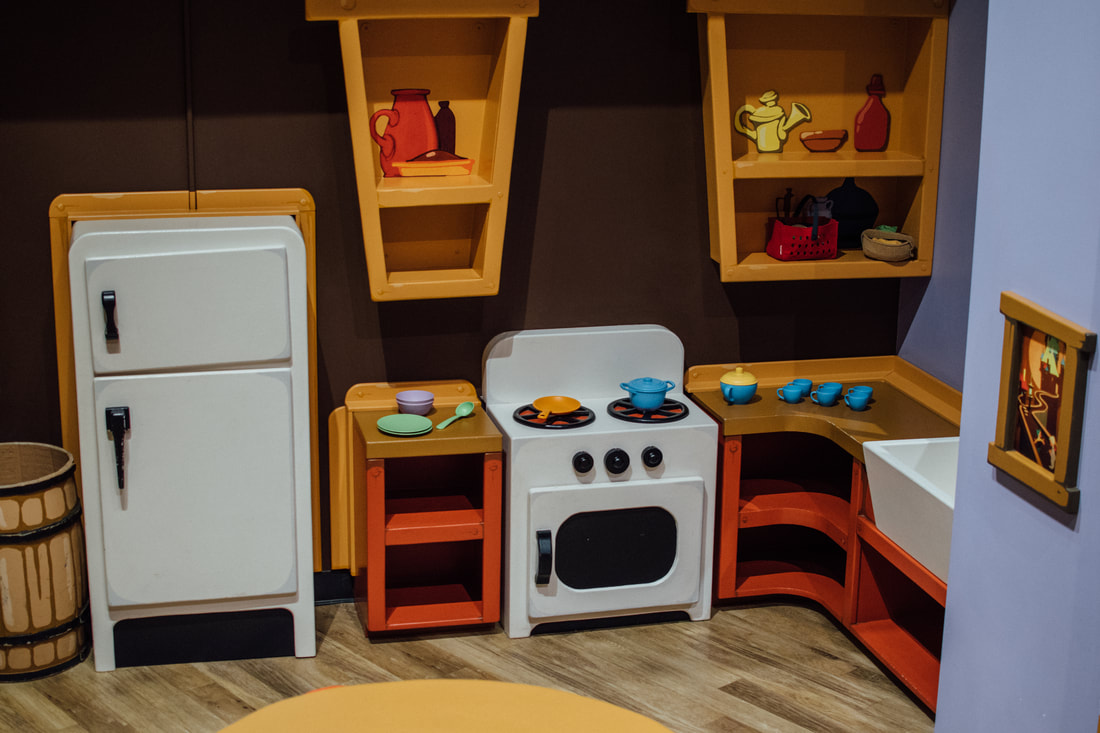
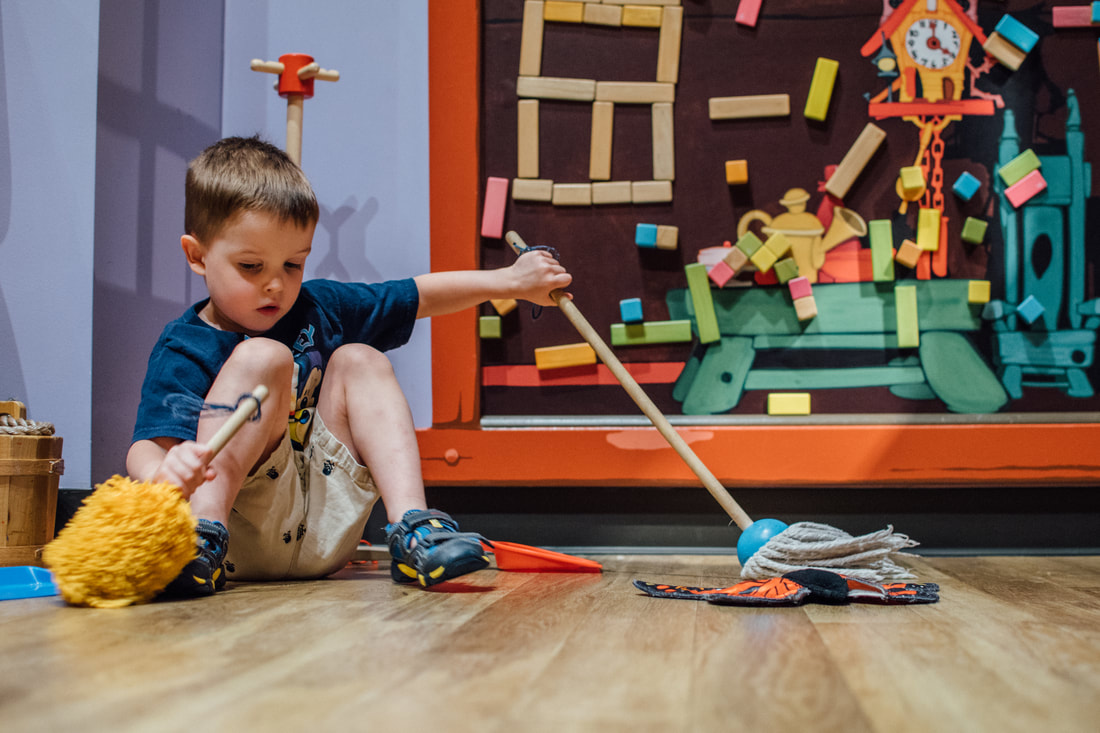
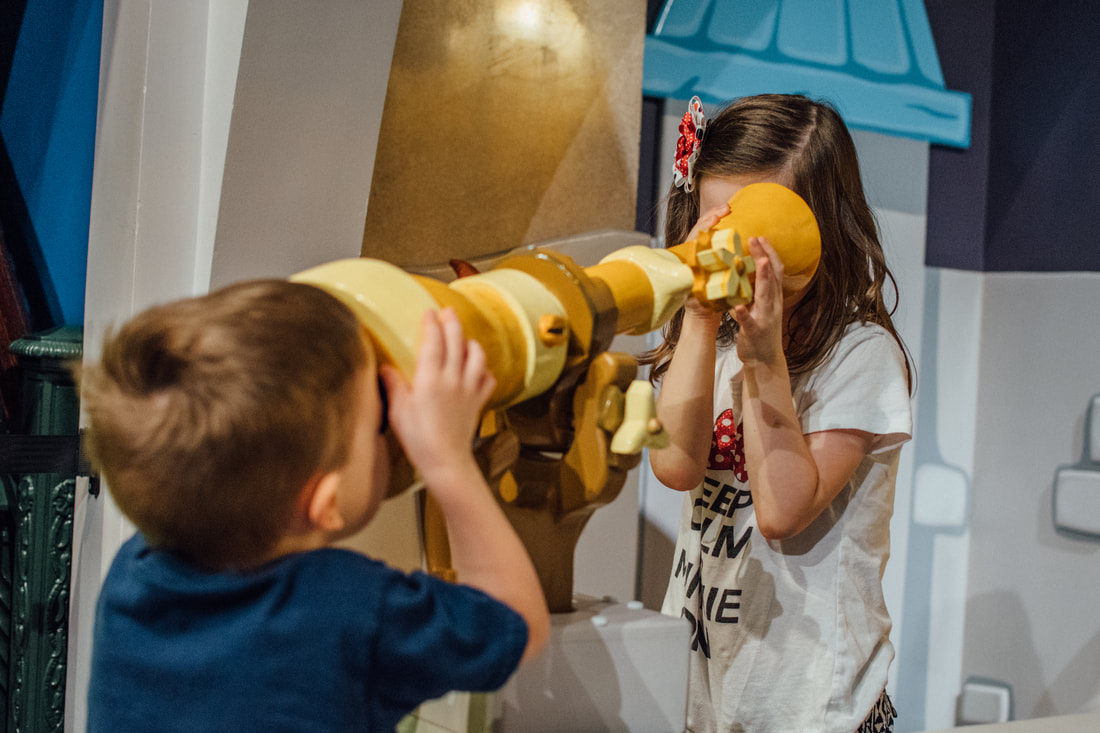
Do you have a train-obsessed toddler like me? Or are you looking for a fun day trip around Charlotte? The Lynx Blue Line train is a perfect place to begin your adventure. Just make sure to bring your camera so you can capture all the fun! I will include photography tips and camera settings as well as suggestions for your journey here. I strapped my Nikon D5500 around my neck and headed to Imaginon and 7th Street Market with my little family. I hooked on the 18-55mm kit lens because I knew we were going to a museum where I would need to zoom at times. I love my 35mm prime lens, but it's a little limiting in adventurous situations. I have posted the ISO, aperture, and shutter speed for some images throughout this blog. I hope it helps you to learn the settings and gives you more freedom to get out there and use your own camera on manual. 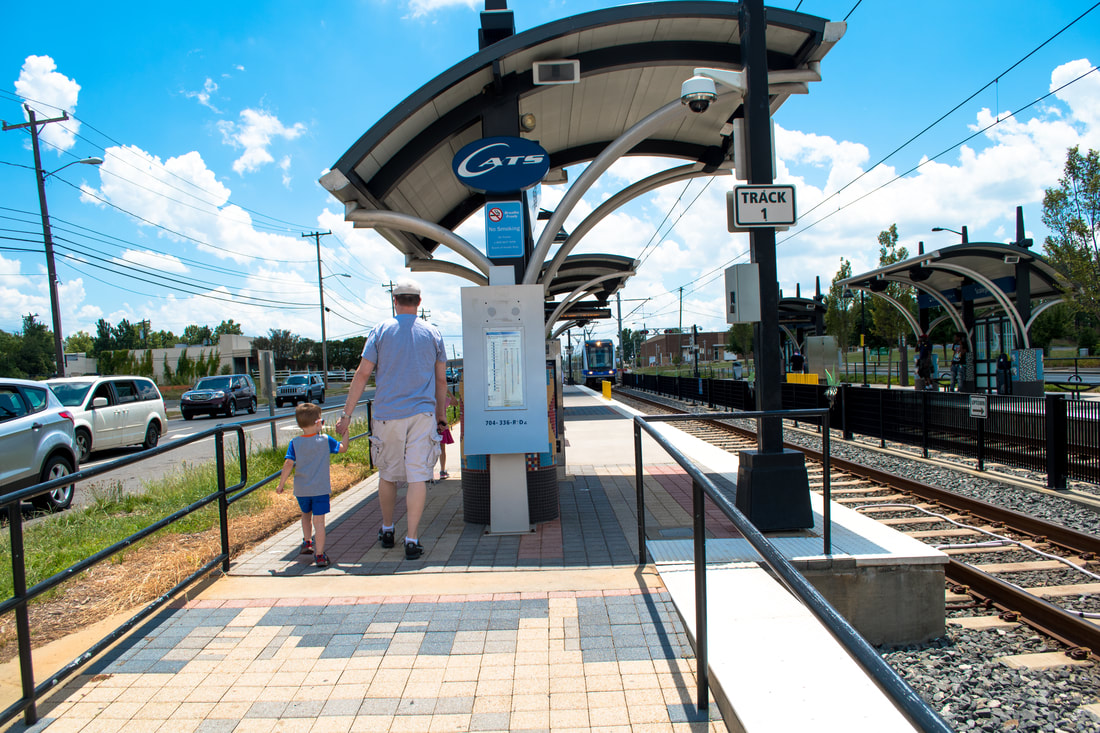 ISO 100, f/7.3, 1/500 sec There are kiosks where you can pay for your ticket before you get on the Lynx Blue Rail. There are random checks done for tickets, so you may or may not be asked to show it. Children 5 and under are free! Click here for more information about fares and schedules for the train ride. Photography Tip: Keep your ISO low (100-200) in outdoor pictures when it is very sunny. This will lead to less grain. 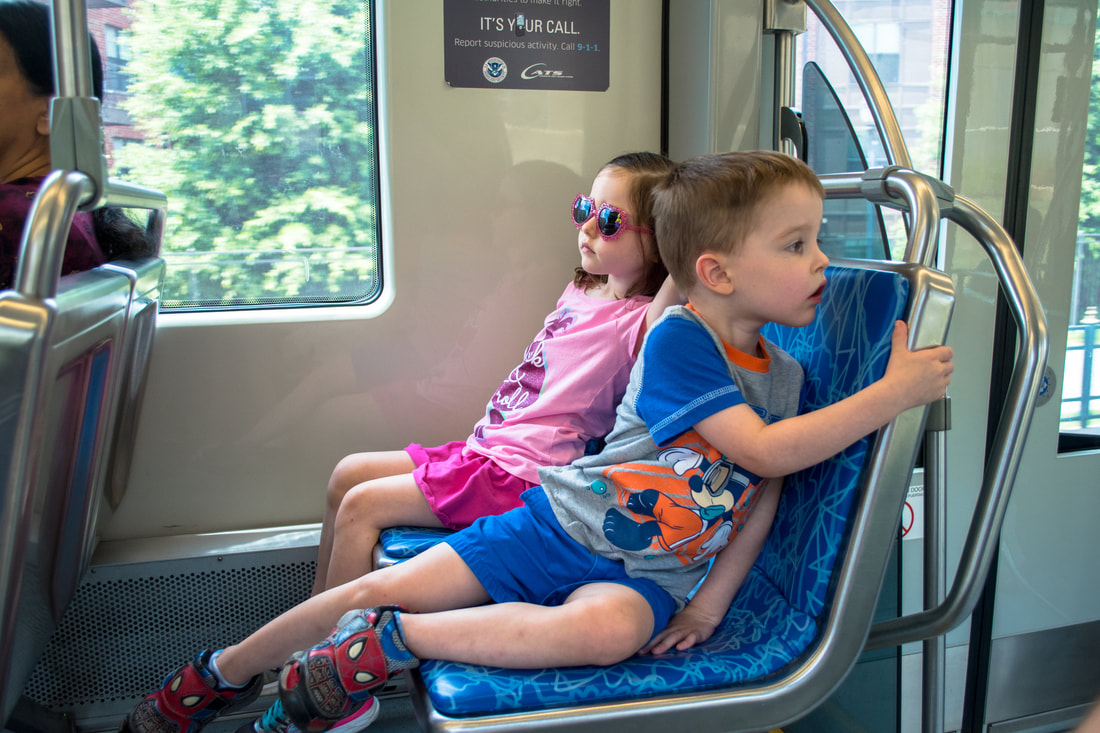 ISO 800, f/3.8, 1/200 sec My little curious ones were so impressed we were on an actual moving train....not just one at a museum. They made themselves comfortable pretty quickly. It was probably a strange feeling though to not be strapped down in a carseat while moving this fast. FREEDOM! Photography Tip: Raise the ISO and/or decrease your aperture in a location with less light so you can keep your shutter speed high enough to keep images sharp. 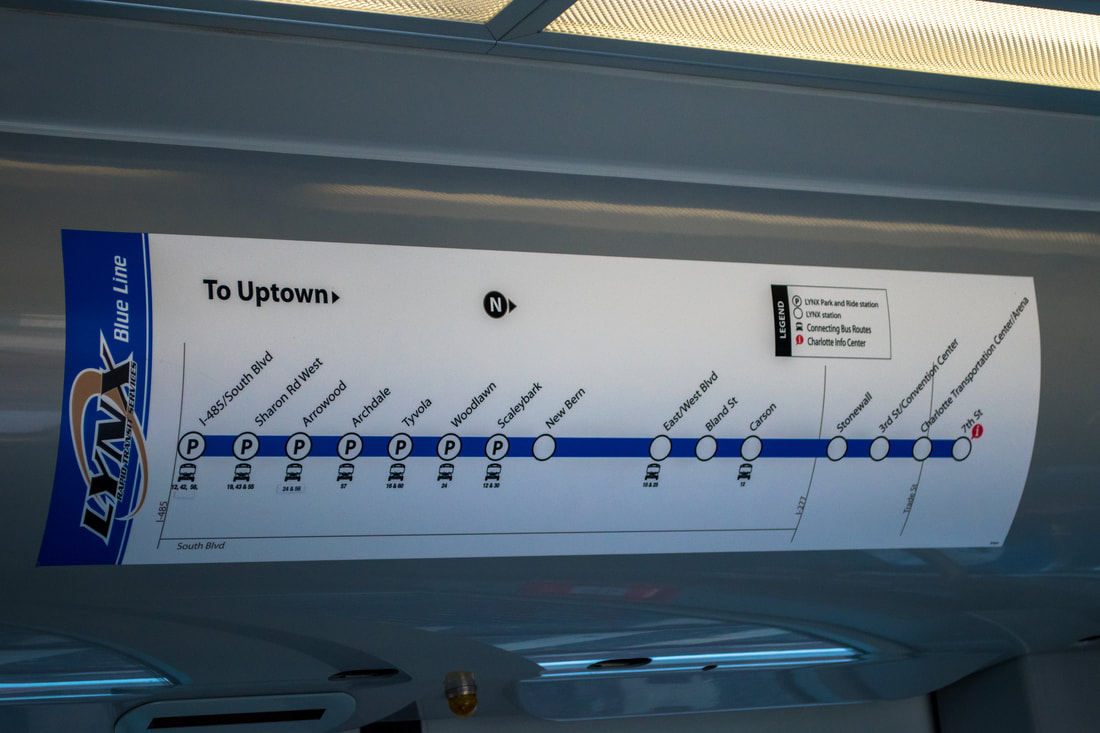 The Blue Line map, in case you wanted to see it! We drove from Rock Hill, SC to the Scaleybark station to get on because we did not want to make 14 stops starting at I-485/South Blvd. My babies and I tend to be prone to motion sickness (it sucks), so more stops could have meant more opportunity to see breakfast again. No thank you! Taking just 8 stops was more than enough time for the "newness" of a train ride to wear off anyways. They're at an age with short attention spans! ISO 800, f/3.5, 1/250 sec As you're taking pictures, think about composition and different angles. L's face in the reflection of the window is what I focused on in the picture above. It just so happened that I took about 5 pictures like this as we were traveling and this one was my top choice. Why? I liked the V shape that the angles in this image make. Certainly the trolley tracks and sides of the building pull your eyes to one side, then the blue chairs and train windows pull to the opposite side where you spot L and her reflection. This is one of my more favorite pictures. It certainly wouldn't make the cover of National Geographic, but I am in love with it! Photography Tip: Take multiple pictures of the same image, but not too many. You will waste a lot of time going through all of them! ISO 400, f/4.0, 1/2000 sec Once we embarked on the last stop (7th Street) we sauntered out of the train and headed to Imaginon, which is right on the other side of the tracks. It was hot out, so we did not spend much time outdoors, but there were some cool structures. 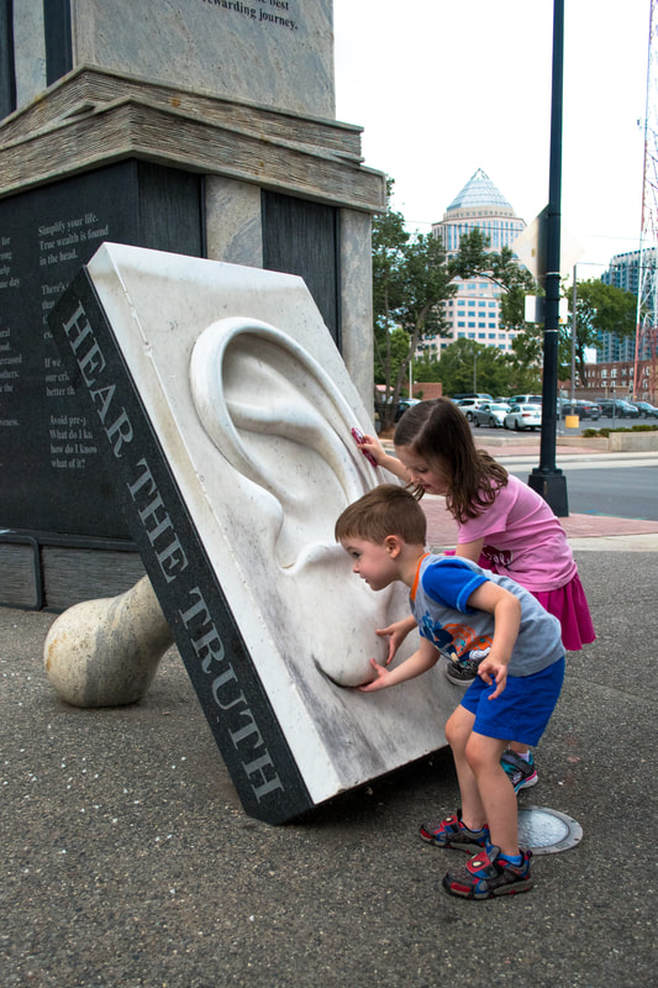 ISO 800, f/3.5, 1/4000 sec One of my son's cute quirks is that he likes to pull on other people's earlobes. Usually just family members and friends, so thankfully not strangers. It's kind of random, but endearing in a way. So when he saw this HUGE ear I knew exactly what would be happening. L had to get in on the joke too! Photography tip: It's okay if you forget to bring your ISO back down to 200 once you are outside in the sun again. You can compensate for this by raising your shutter speed to something like 1/4000! I had to get this photo quickly so I just went with the ISO being at 800. ISO 400, f/4.0, 1/1000 sec This picture above was taken in front of Imaginon as well as the 7th street train station, just to give you an idea of how close they are to each other. You just need to hop, skip, and jump over the tracks! Photography Tip: When capturing motion, like L jumping, make sure the shutter speed is high. I had it at 1/1000 sec to prevent motion blur. L and T fell in love with Imaginon! Right now there is a Tinker Toy exhibit where the kids can engineer something creative. It's hard to really describe Imaginon. It's like a museum, play area, and library all melted into one big fun adventure land. The best part...it's FREE and air conditioned!!!! We haven't been outside a whole lot because 100 degrees just doesn't agree with me. Letting the kids play in this nice air conditioned fun space was exactly what they needed to get all that access energy out. Photography tip: All images above taken at Imaginon had an ISO of 2000 so that I could raise the shutter speed to no less than 1/125 sec. I kept the aperture mainly on f/3.5, which is wide open for the lens I was using. This also allowed for me to keep my shutter speed higher so that I would capture motion of the kiddos. Our Charlotte adventure did not end here though. After Imaginon we went across the train tracks again to 7th street market for lunch. More about the food and train ride back in my next post..... Want to learn how to take better pictures? Join one of the classes I offer by clicking here.
1 Comment
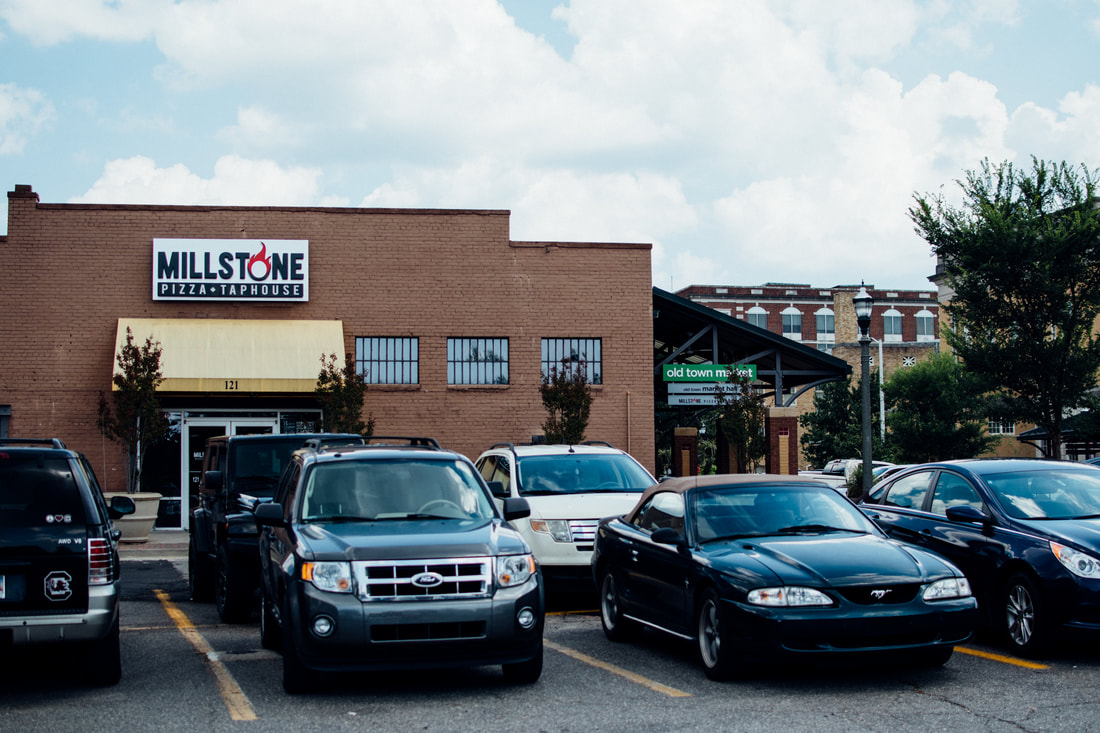
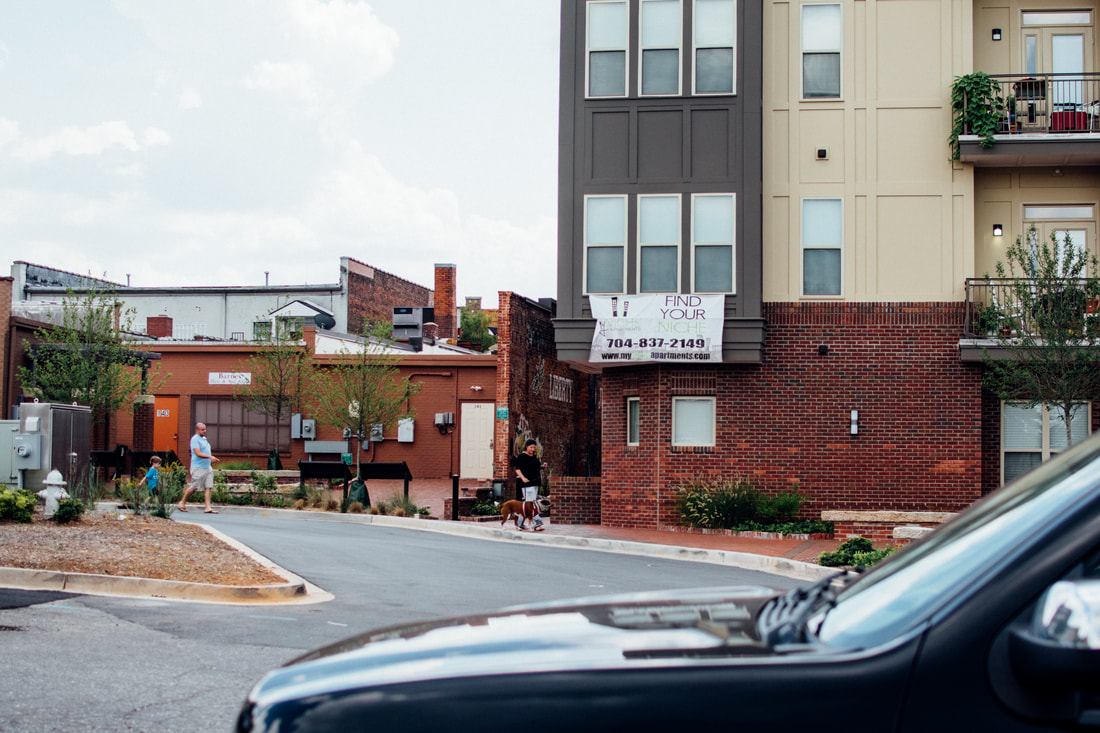
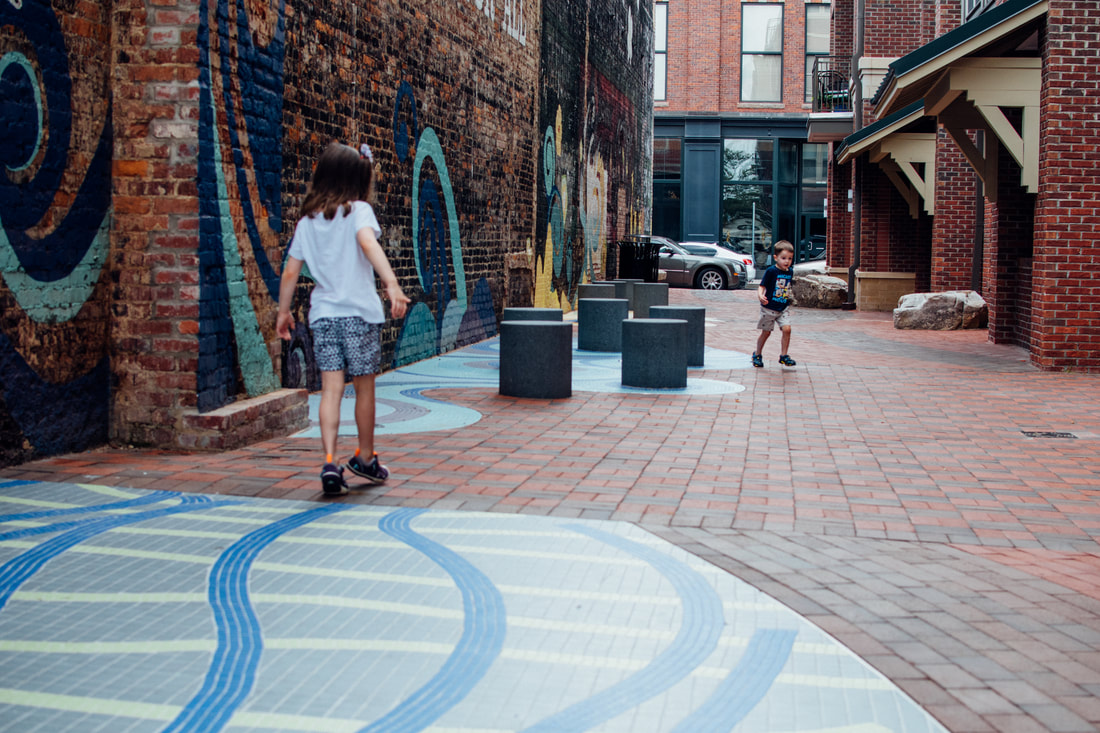
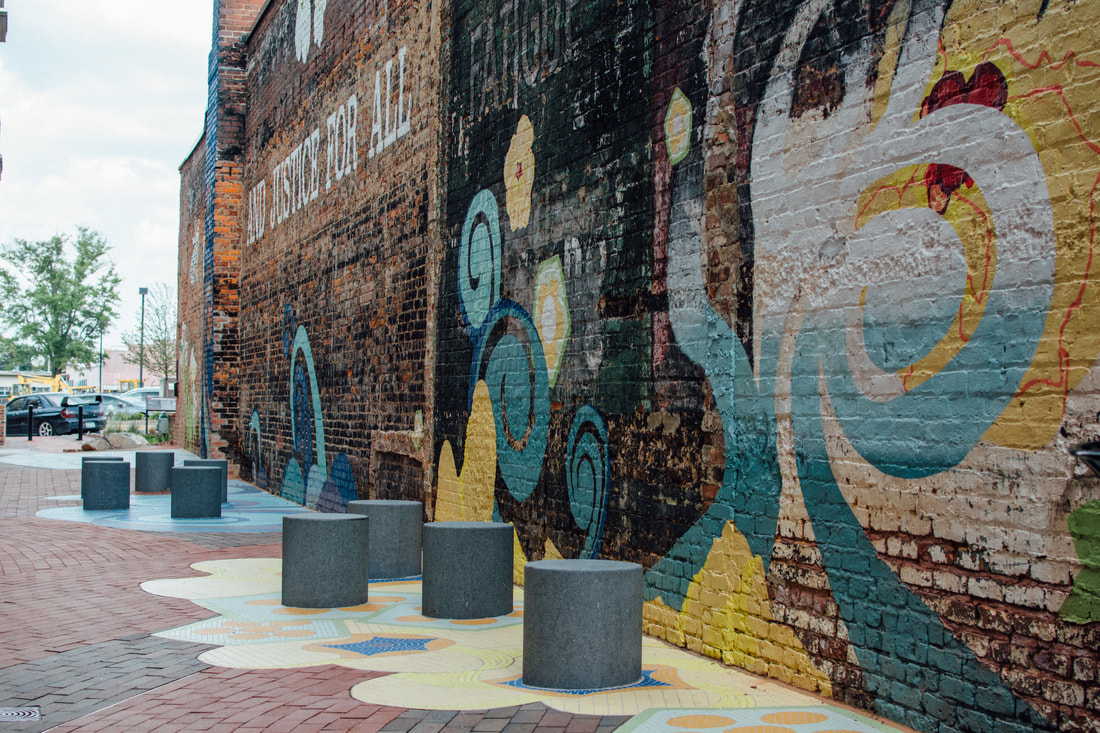
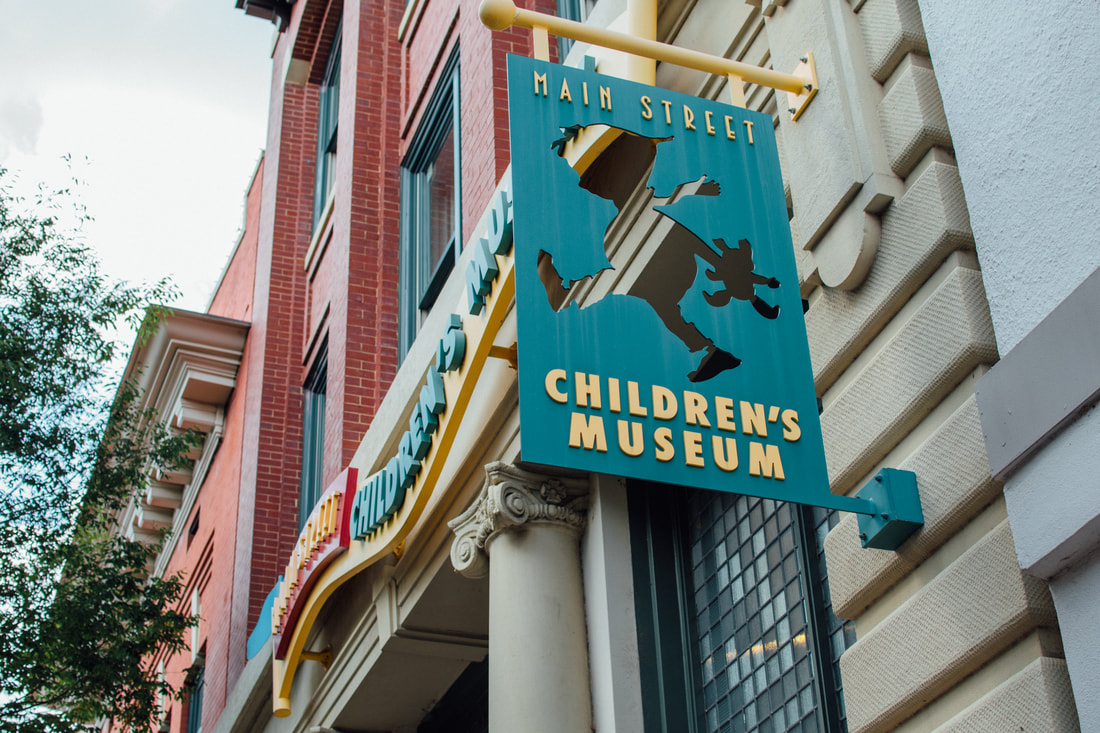
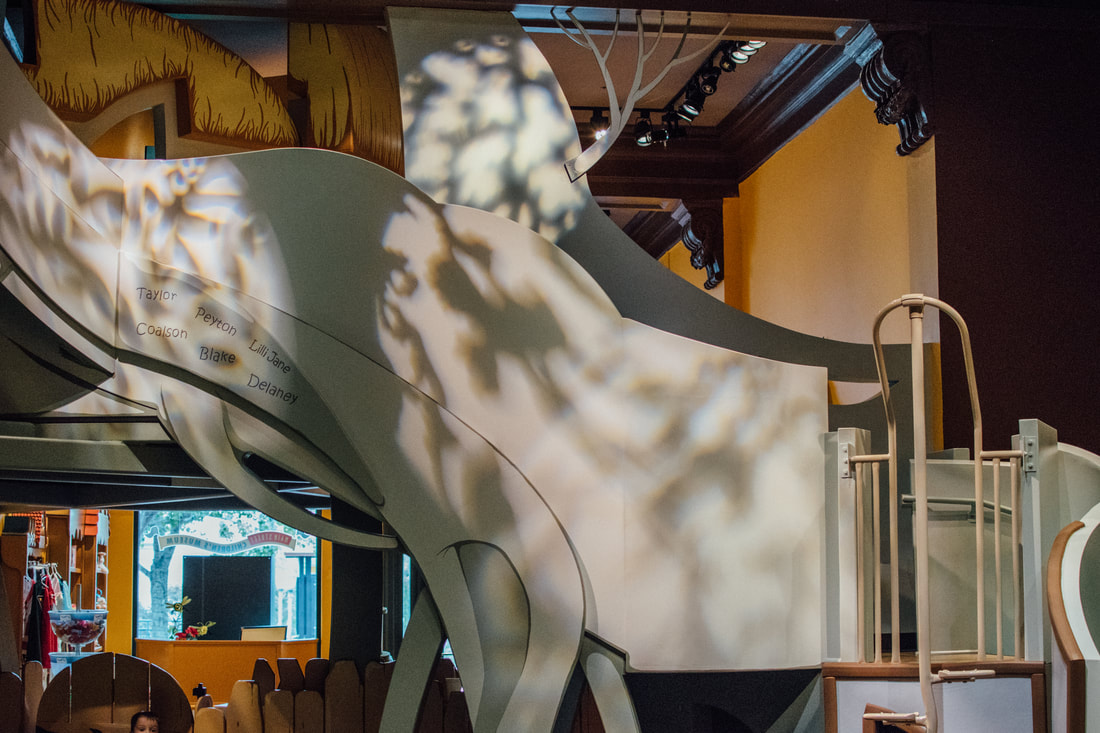
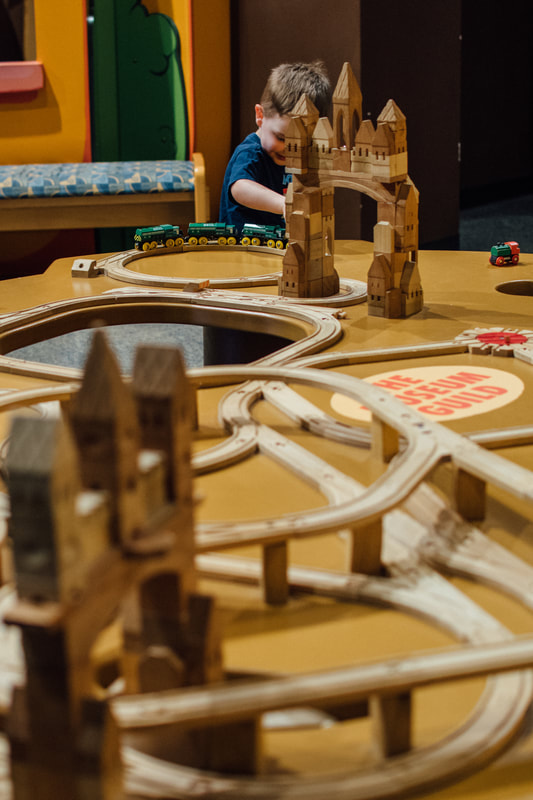
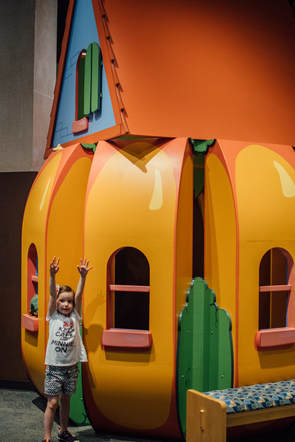
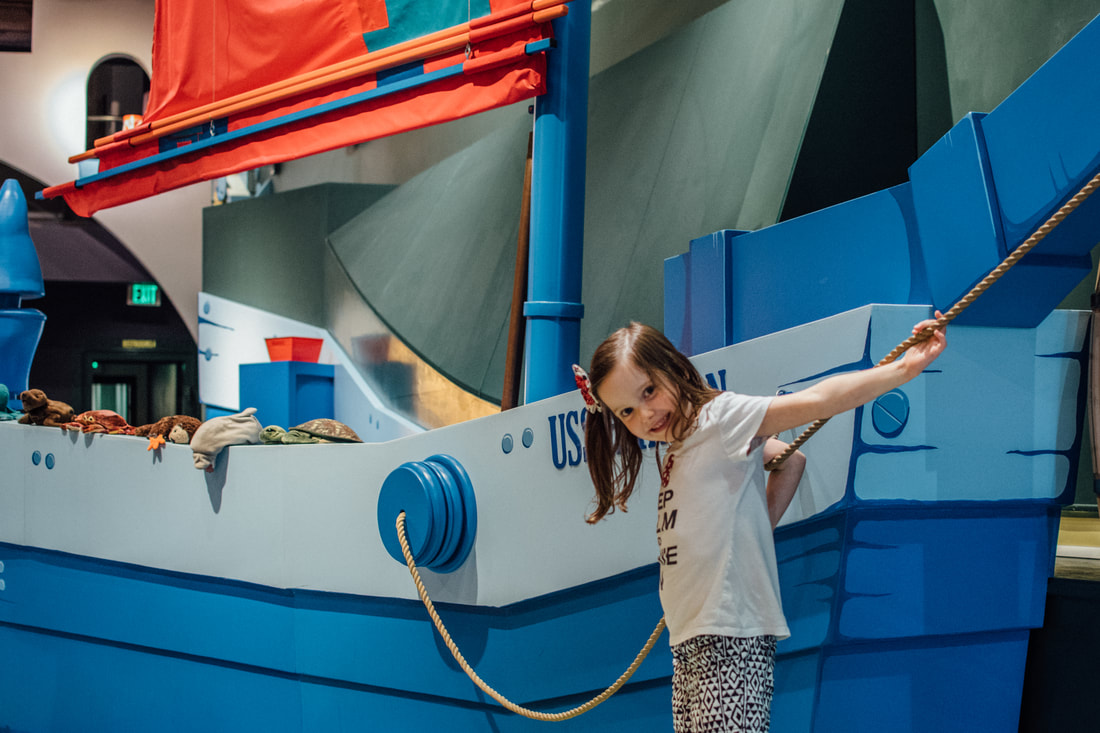
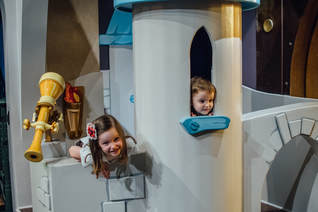
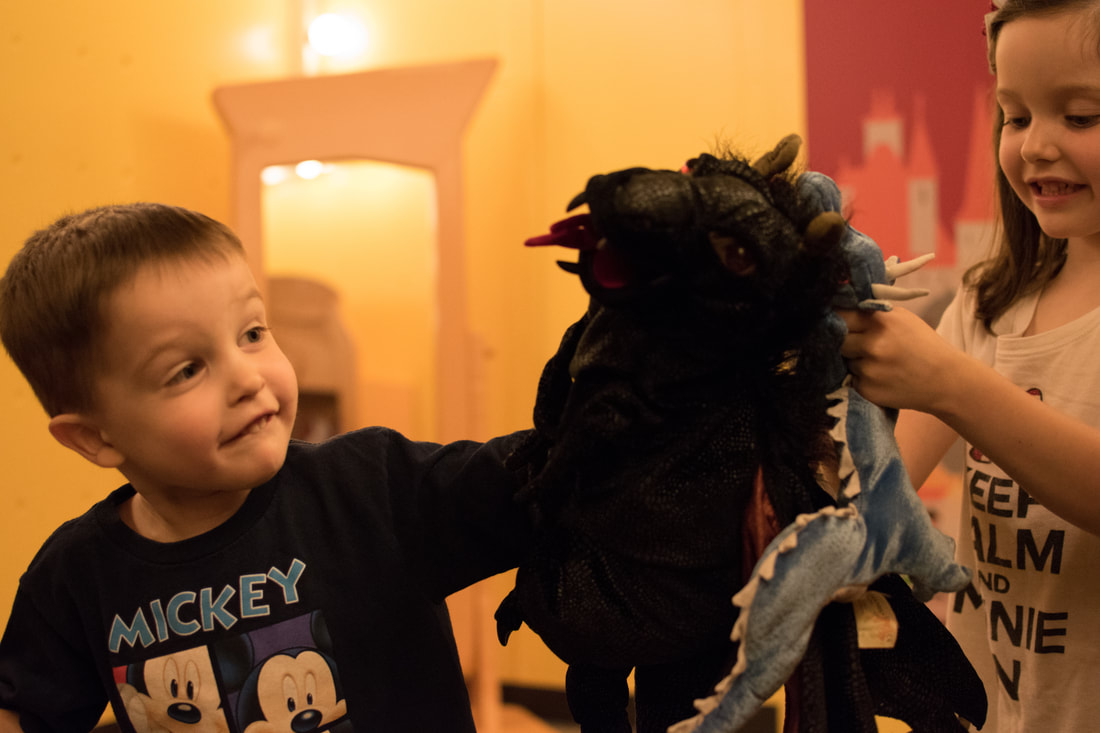
Hot! Hot! Hot! 100 degrees, and over, here in Rock Hill, SC. The heat has been excruciating for the past week and my kids are going stir crazy! The Carolina summers are certainly beautiful with all the happy sun, but man oh man, is that heat and humidity some serious stuff. It's like being slapped in the face with a steamin' warm wash cloth each time you venture outside. Needless to say, we have been sticking to indoor activities. The Children's Museum in Rock Hill was on our agenda today so my little Energizer bunnies could use up some of that energy. If I could just bottle it up and sell it I would be a millionaire! I took my camera with me on our excursion so that I could share with all of you some tips for taking pictures at a museum and give you an overview of this little gem we have here Rock Hill (only 20-30 minutes from Charlotte, NC). If you happen to need a place to bring your kiddos to beat the heat I suggest going to The Children's Museum on Main Street in Rock Hill. First, I suggest parking in the parking lot behind the museum. There is not much parking on the street and I know how pesky parallel parking can be with multiple children. So make your life a little easier and get that child transportation vehicle into the parking lot. It is on White Street. Here are a couple pictures to show you that you have the correct lot: Millstone will be easily viewable from the parking lot. You will not see any signs for the Children's museum yet. BTW: Good pizza here! This is the important part of the parking lot. There is an alley behind that woman who is walking her dog. This is a very cute alley to walk down to get to the museum. This alley was recently painted and tiled. If you haven't seen it yet it is a fun place to get pictures. As you can see, my kids thoroughly enjoyed it! Once you get to the end of this alley you will take a right onto Main Street and the museum is only a few doors down. One more shot for the photographers to see the majority of the mural. We went around 3pm on this day and there was no direct sunlight, so it was easier to get an exposure that didn't have too much contrast. How did I get this image? Nikon D5500 Nikkor 35mm 1.8 prime lens ISO: 200 Aperture: f/3.5 Shutter speed: 1/400 sec The Main Street Children's Museum in Rock Hill, SC I thought this was just a tree house, but it's actually an elephant-shaped tree house! "The more you know!" As you can see from the images above there is a lot of fun to be had in this nice little air-conditioned museum. It is not big enough to feel overwhelmed with two children running in different directions, but there are many parts to play pretend at. The list in order of L's favorites go like this (she was very specific about this when I asked): tree house, castle, dress up room, kitchen, ship, train track area, frog dance floor, puppet stage, pumpkin baby play area, pulley system, and gift shop. Sometimes the museum has special events, which are always well put together. One of the best things is how cheap it is to get in! Only $6 per person and babies are free. Take a look at their website by clicking here for more information. Let's talk photography now! If you will be bringing your DSLR camera with you I suggest taking your zoom lens. I took my 35mm prime and regretted it partially because it was hard for me to get in the position I needed for some of the shots I really wanted. One positive to taking my prime lens is that it provides a larger aperture (opening in the lens) so that I did not have to boost my ISO too much. When you increase your ISO you will notice more grain. The outside pictures from above had an ISO of 200, but then I changed the ISO once I got inside to 1000 and then to 2500 because I was not getting a shutter speed high enough to get clear pictures. I mainly used manual mode instead of shutter priority or aperture priority because the lighting inside is wonky (yes, that's a technical term). This is one of the main reasons learning how to use manual mode is important. Most of the pictures were an aperture of f/2.5 or f/3.5 because the lighting was low. I try to keep my shutter speed at 1/160 or more while the kids are in play mode because I want to capture movement. If they are running I want it to be higher. I did take a couple of the pictures at 1/80 but the majority of those I did not share because they ended up blurry due to movement. The vibrant colors at this playful museum are wonderful to transport the kids into an adventure land full of fun, but not so fabulous when it comes to white balance issues! I kept my white balance on auto, but I definitely had to change the colors in post processing (edited in Lightroom). Here is an example of a SOOC (straight out of camera) shot verses the edited version. Note: I took these images in RAW instead of jpg so that I would have more control over editing. Just because an image doesn't come out exactly like you want it to in your camera does not mean it is worthless. I loved this picture because it shows connection and the playfulness of my kids at this age. It's not perfect on photographic technicality, but it's perfect to me as their mom. This is a moment I will cherish forever!
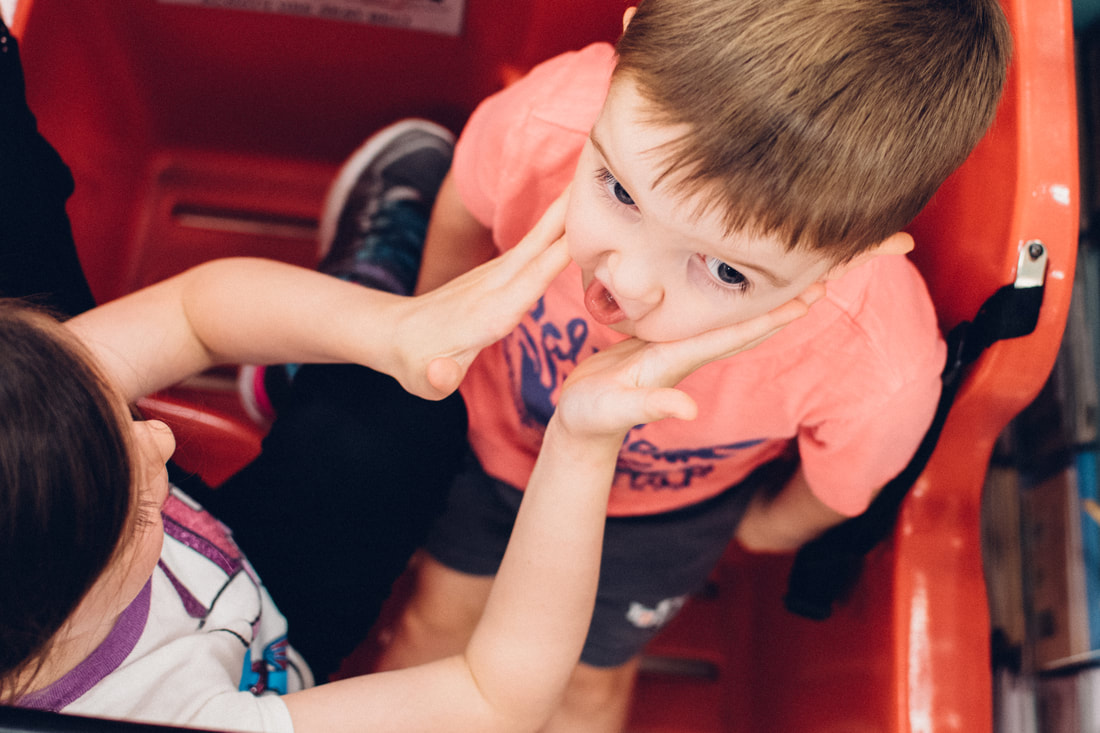
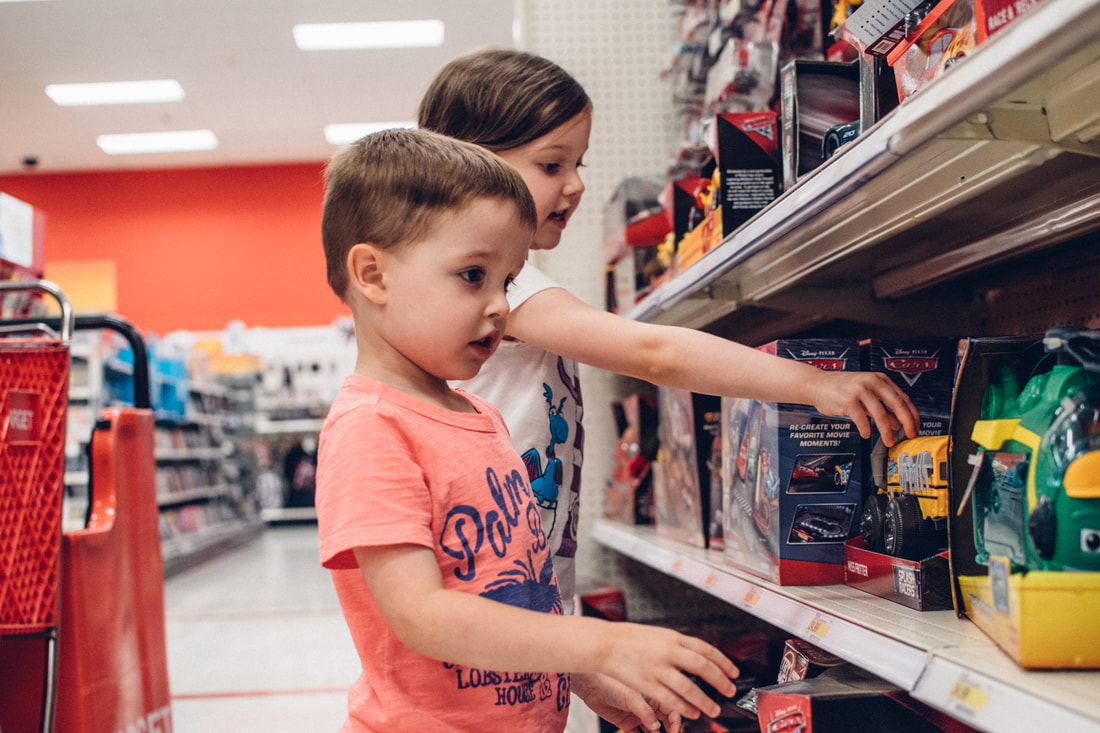
I urge all of you to get out there and start taking pictures. Try using manual, aperture priority, or shutter priority modes. Don't be afraid of learning how to use your camera and don't worry about always getting the perfect shot! Follow me on Facebook for more tips and tricks. Click Here You may be asking yourself "Why would I take my camera to Target?" Well, let's face it, Target is like a vortex of time and money. You go in looking for one thing and come out with a cart full, and you may have forgotten to pick up that one thing you went in for. We have all been there! Since you are spending so much time and money at Target, it is an integral part of your life right now, so why not include a trip or two into your family photo album for this year? Will you get a few strange looks from fellow customers? Maybe. But you are capturing honest moments of your life so there is no need to care. Plus, you may inspire others to do the same thing! All images were taken with a Nikon D5500, Nikor 35mm 1.8 prime lens, and in aperture priority mode. I kept the aperture at 2.8 because I wanted to have the blurred background and foreground. 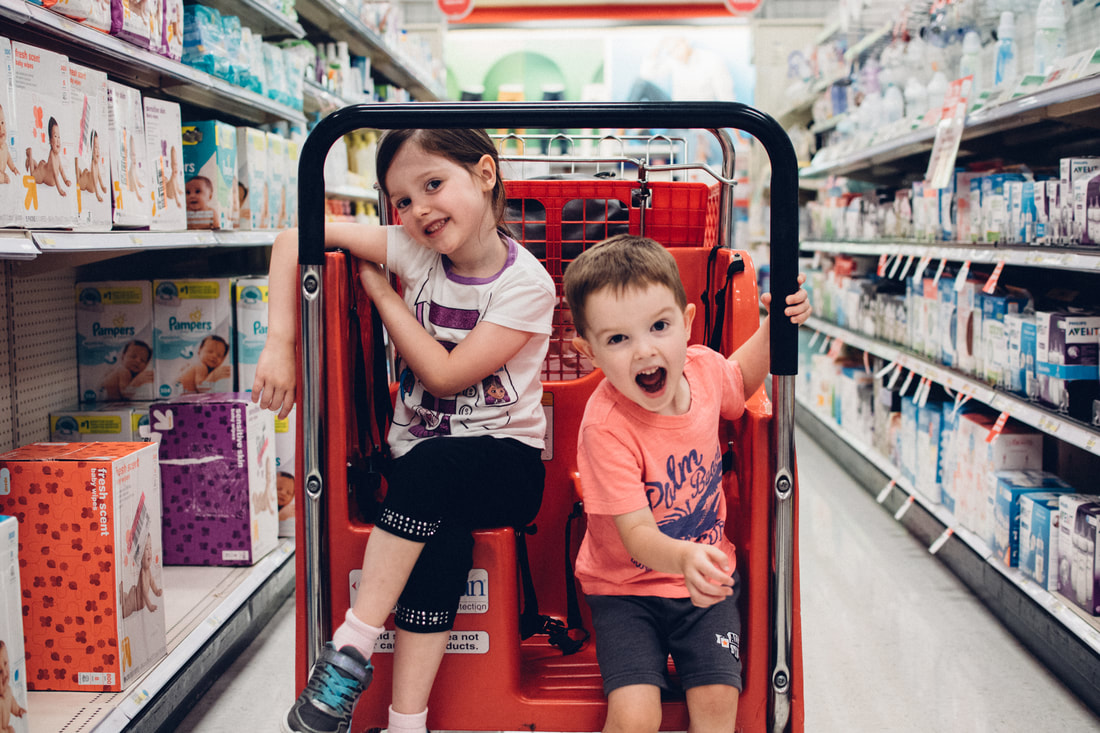 Romping around the Rock Hill Target This is an aisle I hope we will not be visiting again soon. My baby is 3 years old now (even though he is the size of a 5 year old) and we are in the midst of the dreaded potty training. He is a strong-willed child, so it has been proven to be a bit difficult. My home is strewn about right now with Paw Patrol underwear, potty chairs, reward charts, and stickers galore! I know this image above is not perfect as the focal point is slightly behind them, but when you get a silly face like that on an image you need to share it. Notice I did not have him strapped in at this point. You will see in my progression through Target that he is strapped in by the last picture! Those of you with 3 year old boys understand why. How did I create this image? ISO: 1600 (higher ISO because it was not great lighting and I needed a higher shutter speed to capture movement) Aperture: f/2.8 Shutter speed: 1/250 I set up the cart half way down the aisle and moved myself back far enough to where I could get the shelves to create lines that bring your eyes to the subjects (my kiddos). If I had more time and my son wasn't running toward me I would have moved the cart towards the middle of the aisle more to create a better mirrored image of the shelving on both sides and not cutting off the kids feet. But, every time I capture an image I think about how I can improve upon it next time. This will be a nice picture for the family album! Squishy Face How did I create this image? ISO: 1600 (higher ISO because it was not great lighting and I needed a higher shutter speed to capture movement) Aperture: f/2.8 Shutter speed: 1/160 I was lucky with this picture! Since I had my 35mm prime lens on my camera I could not zoom in or out, so I improvised. I took my camera over my head with my "go go gadget" arms and just started snapping, hoping I would get the right focal point and I was happy with the results of this one. L was giving T a squishy face and thankfully he thought it was funny rather than crying. Success! Toy time How did I create this image? ISO: 1600 (higher ISO because it was not great lighting and I needed a higher shutter speed to capture movement) Aperture: f/2.8 Shutter speed: 1/200 These two kiddos had been good while I shopped for the boring stuff I needed, so I promised a trip to "just look" in the toy aisle. I had taken several pictures at this point, but I liked this one the best because of the angle and how they are set up. I try my hardest not to purposely pose my kids because then they will hate it every time I take out the camera. I allow them to naturally move about and then I move around them. I bent down below their level and close to the shelving, which were the leading lines toward the subjects. I also liked how I can see both of their faces and that their arms are moving in the same direction. Straps necessary How did I create this image?
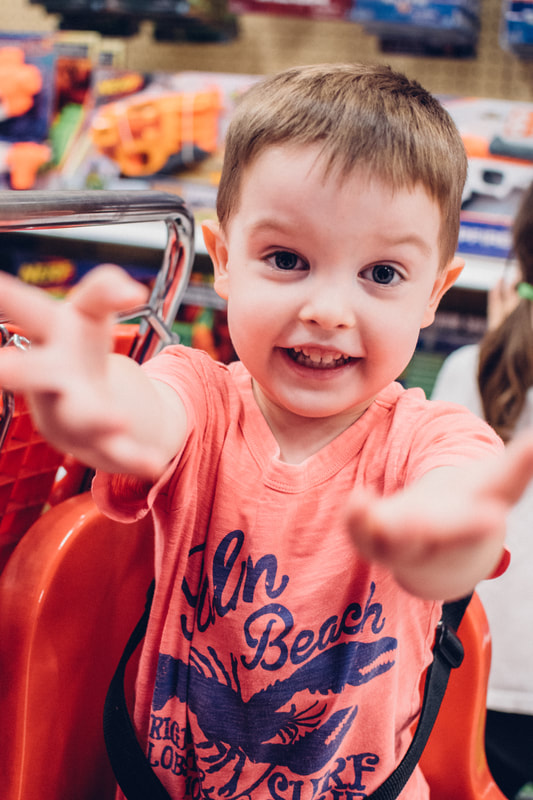
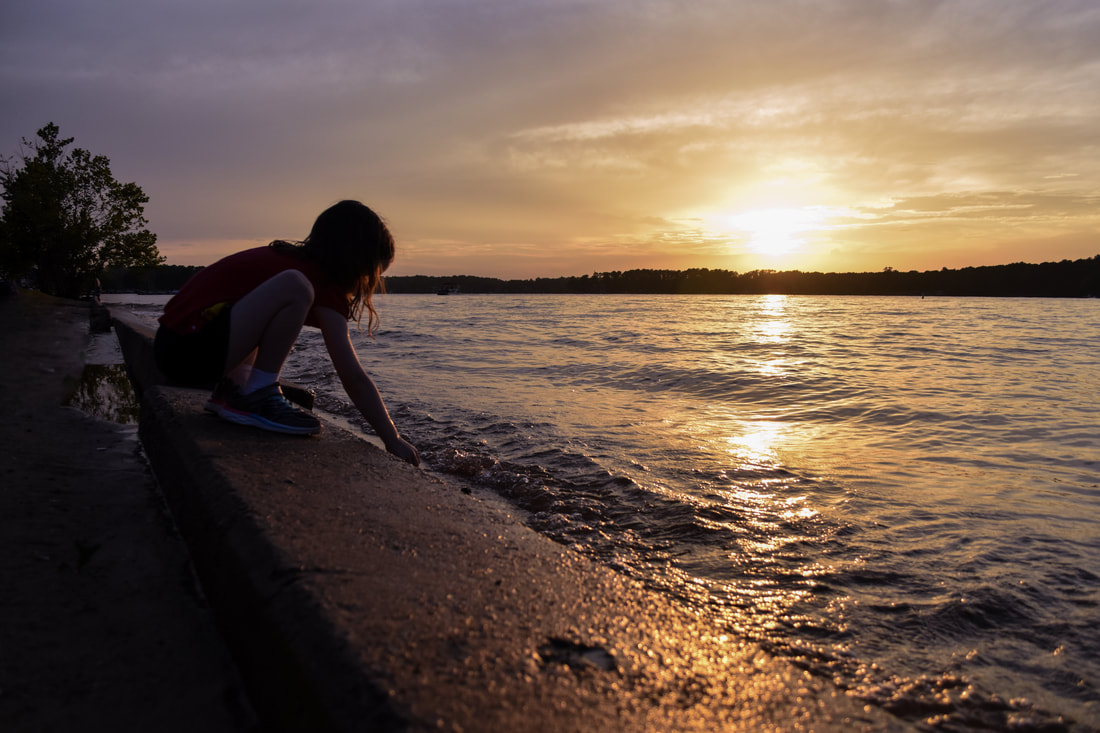
ISO: 1600 (higher ISO because it was not great lighting and I needed a higher shutter speed to capture movement) Aperture: f/2.8 Shutter speed: 1/125 As you can see T had be strapped in because he had decided to run away from me in the toy aisle and not follow directions. It was getting close to nap time and mommy was ready! Luckily T wasn't too upset about getting strapped in because he knew he wasn't listening. But it is hard to say no to this face! The aperture being at 2.8 gives some good bokeh (blurriness) to the foreground and background while his face is in focus. That was just one of our little trips to Target. An ordinary moment that becomes extraordinary years from now when looking back at these images. I know these pictures will transport me back to this time when both kids were still able to fit in the cart, T was full of energy and making the transition out of diapers, and L was such a good listener. My camera helps me to take a step back and observe life at this moment in time. It makes me slow down and recognize that all these moments pass way too fast. I hope that photography does the same for you! Please feel free to like my Facebook page (click here) to keep up on other posts that include photography tips and my parenting worldly nonsense. Note: Images were taken in RAW and edited in Lightroom. The sunsets in Rock Hill, South Carolina are some of the best! This is due to the high humidity here, especially during the summer. It has to do with the shorter wavelength colors (violet,indigo, blue, green) being deflected by the extra particles in the air, while the longer wavelengths are still getting through (yellow, orange, red). Enough of the science lesson now. Here comes the photography lesson.
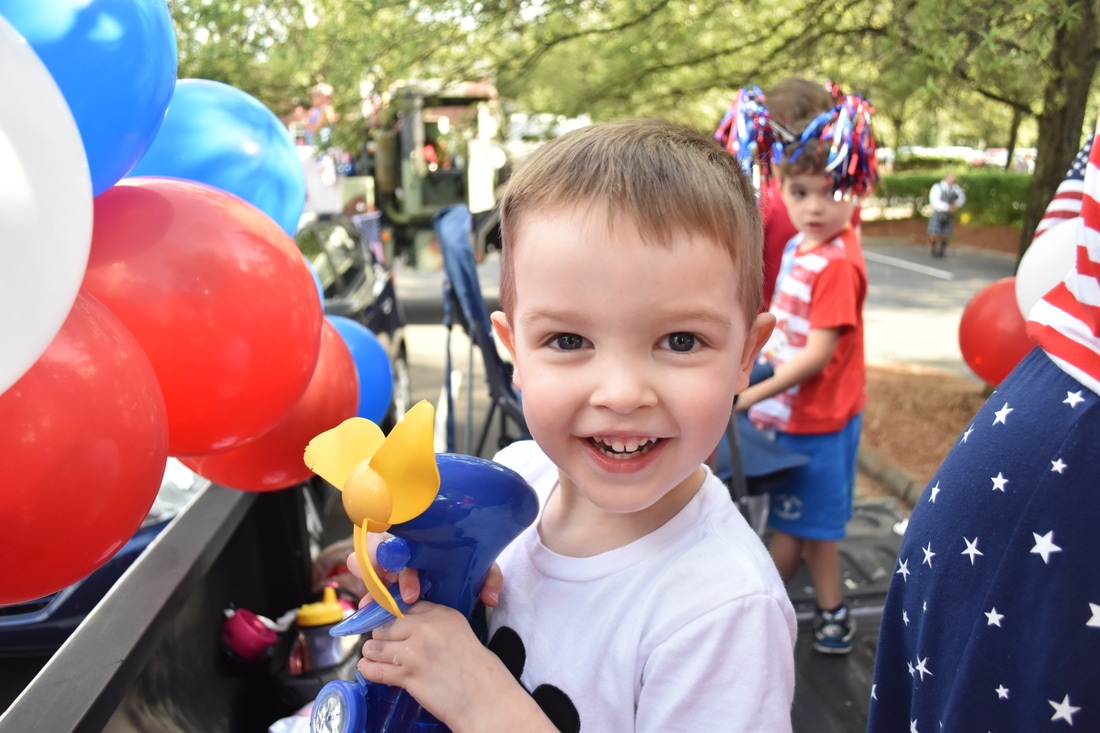
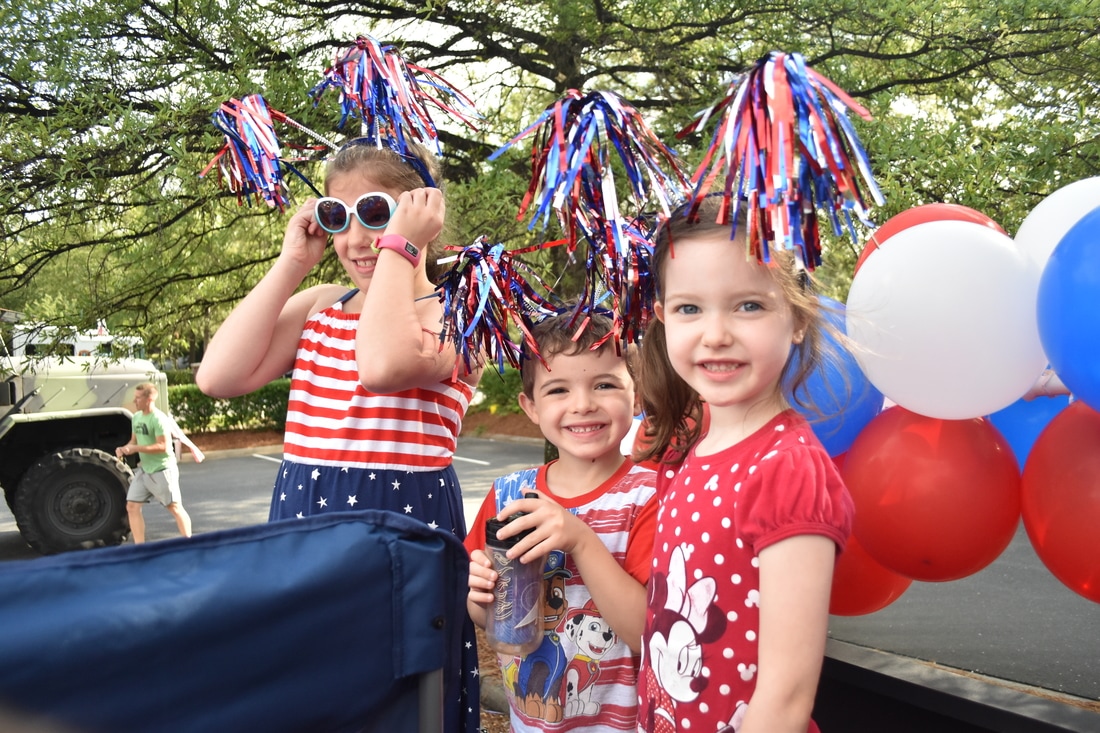
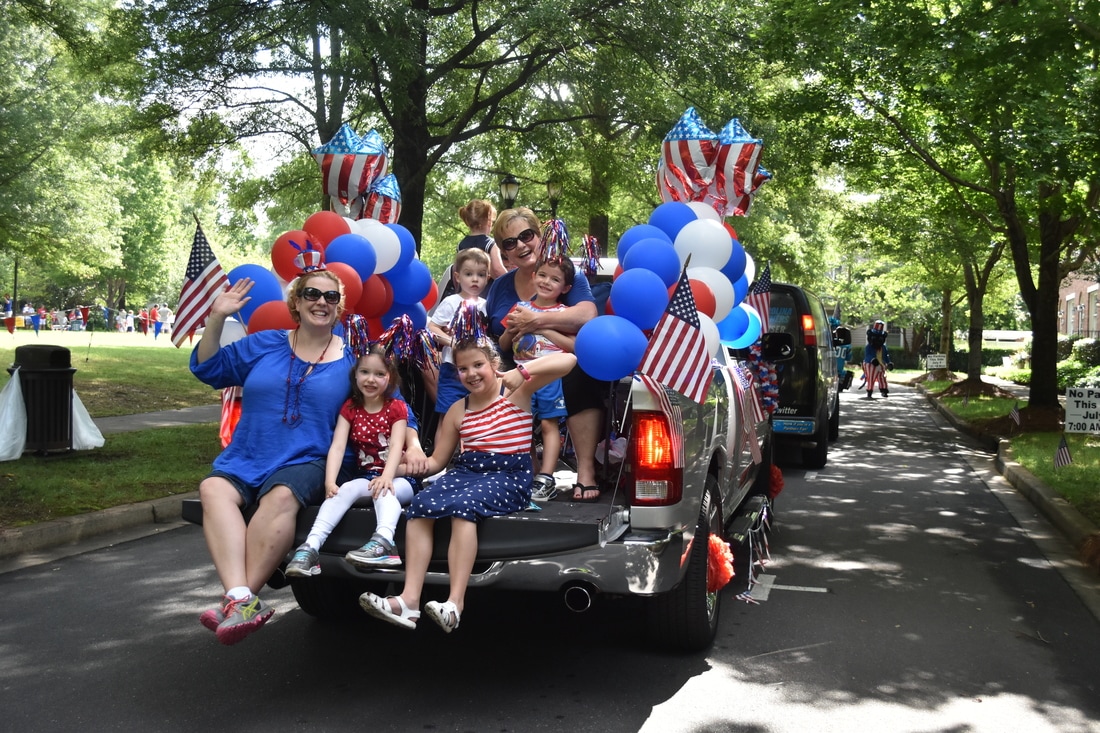
For fellow shutterbugs: Nikon D5500 18-55mm kit lens (18 mm) ISO 400 Aperture f/4.5 Shutter Speed 1/1250 I did not pose my daughter as she played with the refreshing water at the edge of Lake Wylie. She was picking for shells and I moved around her to get the best shot. These are usually my favorite pictures because they are more natural. As a family photographer I try to find the best lighting and composition for my situation and I move myself to it. I made sure that I was in manual mode for this shot because it would be hard to get with the priority modes. I metered on the sky, but then focused on my daughter. I made sure that my shutter speed was high so the sunset would not be blown out and my daughter would be more silhouetted. This image is not SOOC (straight out of camera). In my post processing (using Lightroom) I decreased the exposure slightly, and brought down the highlights and whites. I increased clarity to give it a sharper look because the focal point was slightly off (a little behind her). I also increased the vibrance to give the sunset more color. I did not want the sunset too orange after I lifted the vibrance so I also tinted towards magenta. My mom and step-dad decorated their truck in red, white, and blue and we were off to be in the Baxter Parade in Fort Mill, SC. It was a terrific and patriotic time enjoying the small town feel of Baxter and practicing our princess waves as we threw candy to the parade watchers. My daughter is an expert princess waver....lol!
I took my Nikon D5500 DSLR camera with the 18-55mm kit lens. I usually prefer my 35mm 1.8f Nikon prime lens (prime lenses do not zoom in or out) because of the ability to open the aperture larger and the better portrait quality. I also like prime lenses because it gets me up and moving as I take pictures. I feel more of a connection to my subjects when I do this. However, the prime lens was not necessary since I was not taking pictures of clients, but my own family. I also felt like the zoom was the better option when being a part of a parade. The ability to zoom in so that I wasn't running around everywhere trying to get the right placement for my pictures was important. Although the parade watchers might have found it entertaining as I tripped over myself! My best suggestion to you, if you are taking pictures in a parade, is to make sure you have a high shutter speed (1/500 or more) so that you are capturing motion and don't get a lot of blurry images. If you need to raise the ISO (mine was set at 800, but I usually like to keep it at 200 for sunny outdoor images) in order to do this go right ahead! I would personally rather have a little more grain in my pictures than blur....unless you're being artistic and want some blur in your pictures! When it comes to aperture you will want to have it at f4.5 or higher number (smaller opening) so that you get more depth of field (things closer and farther away from your focal plane are in focus). Note: These suggestions are not the only way to take pictures of parades. You should try different settings and see what works best for you and the feel you want to convey in your images. Have fun and get out of your comfort zone! |
AuthorLarisa is a natural light photographer and teacher in the Rock Hill, SC and Charlotte, NC area. Archives
January 2023
Categories |


 RSS Feed
