|
I've been meaning to do this. It seemed simple. Choose 12 images, one from each month, that were my favorites from 2017. Maybe you share my pain and have tried something similar. How is it possible to choose 12 out of thousands of pictures that I have taken and edited to be my favorite? (Note: There may or may not be more than 12 pictures here, don't bother counting. ;) I knew this was going to be a time consuming task, but I didn't realize that I was actually going to enjoy it. Reflecting on this past year. How much the kids have grown, the new schools, the potty training highs and lows, the family vacations, the tears and smiles, the birthday parties full of energy, the stages they go through (trains to dinosaurs and princesses to heroes), the dinner table negotiations, the million hugs and kisses, the hundreds of books read at bedtime (usually the same ones over and over), the endless love. It's easy to get so busy and overwhelmed and not have the time to reflect and recognize the amazing blessings we live with. I know I need to do this more often! 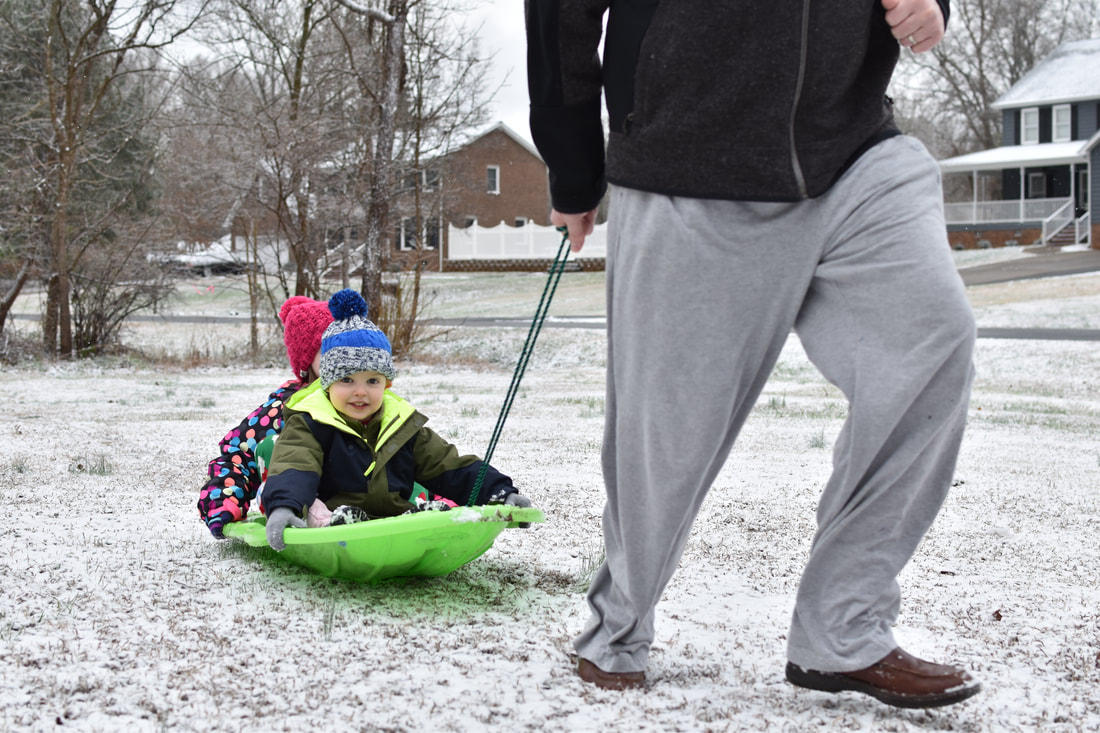 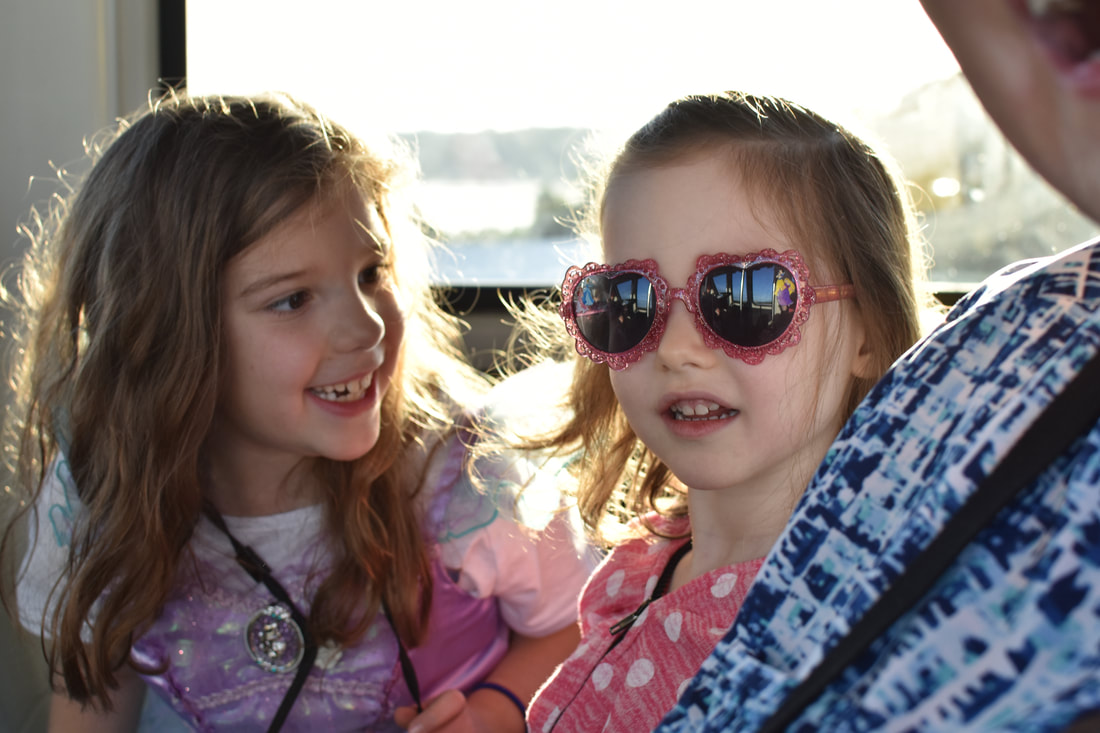  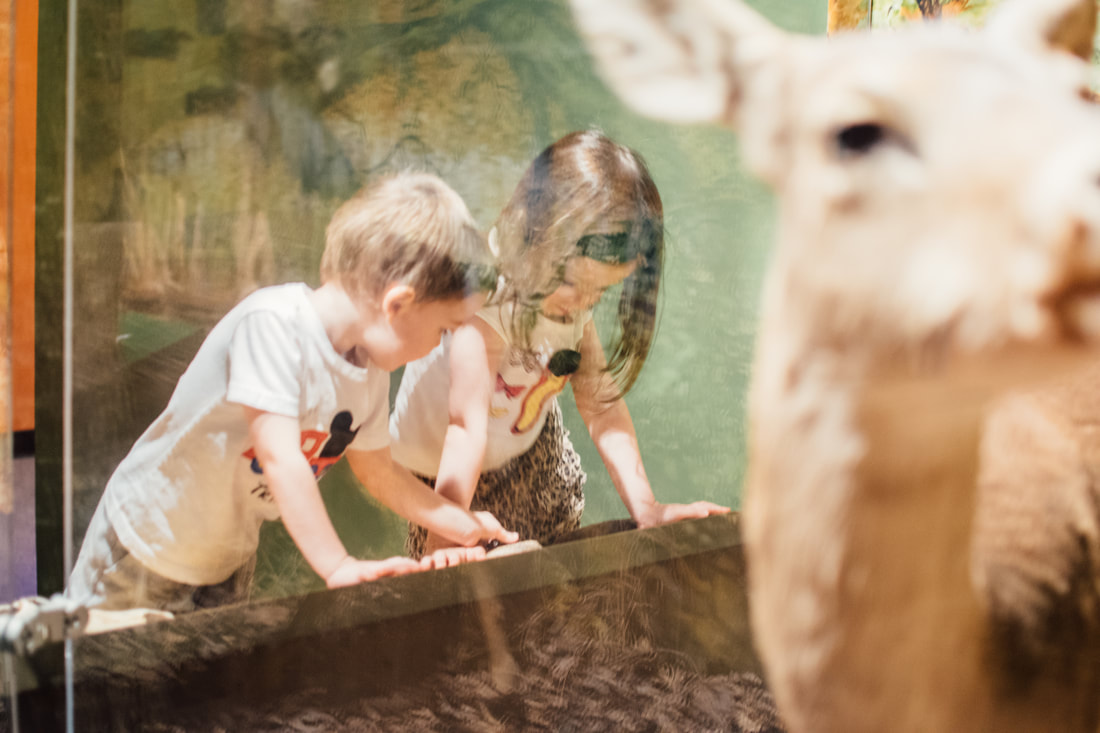  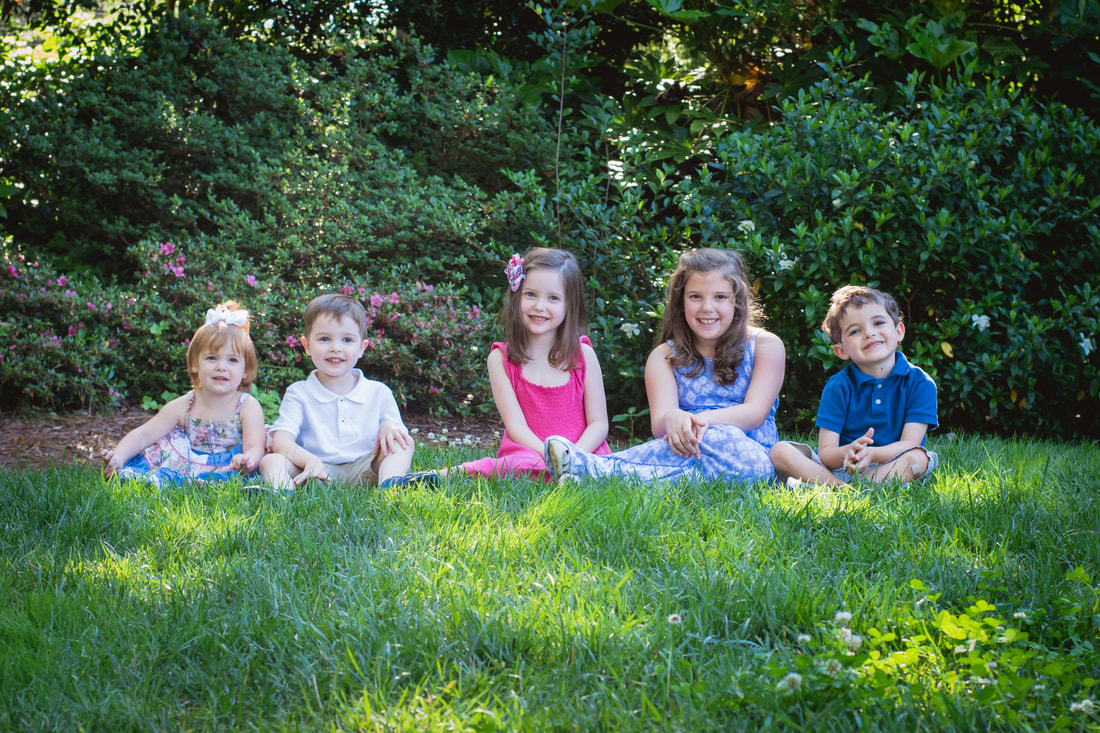 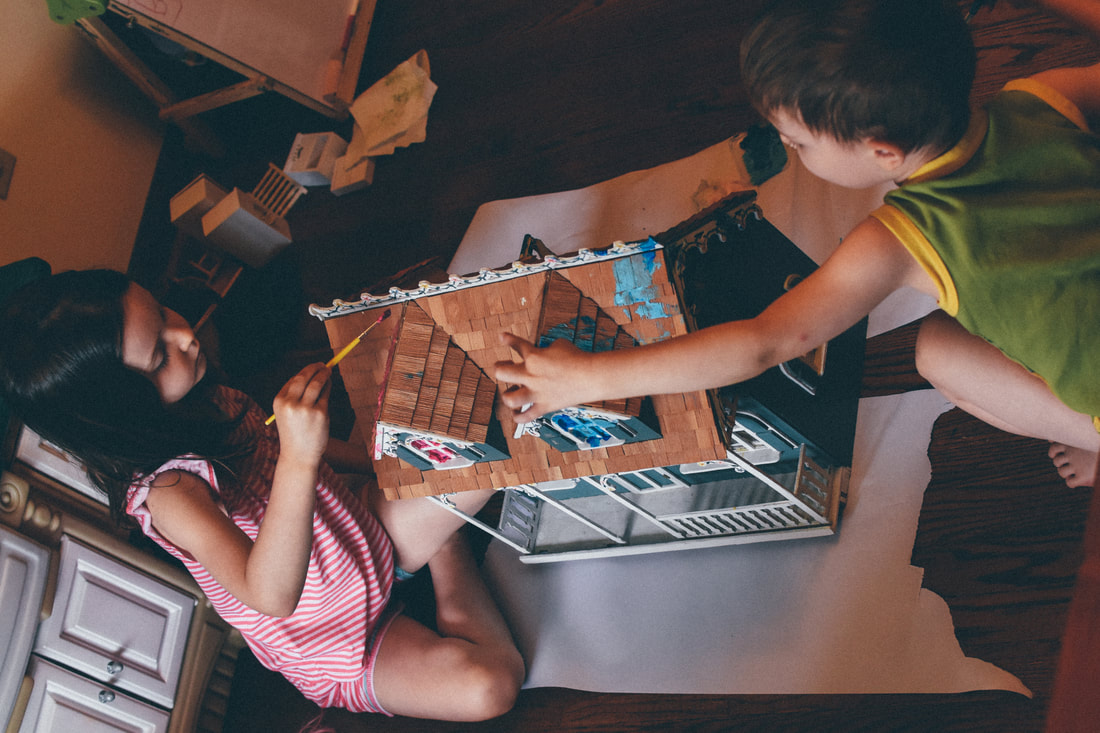 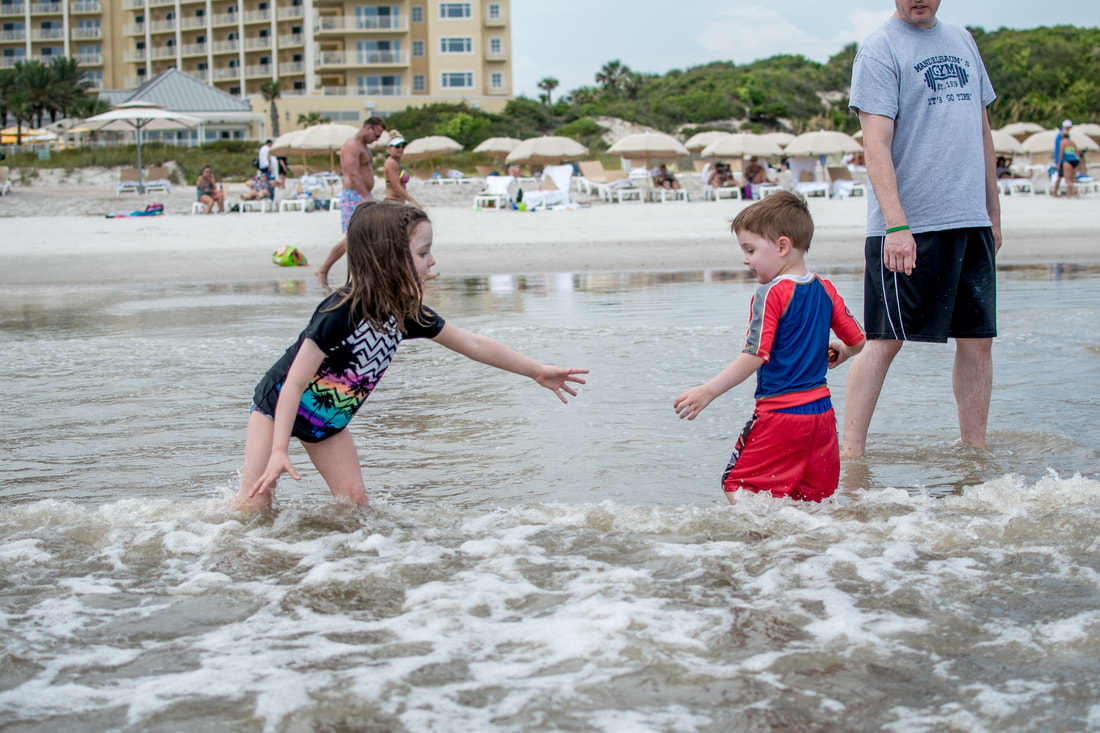  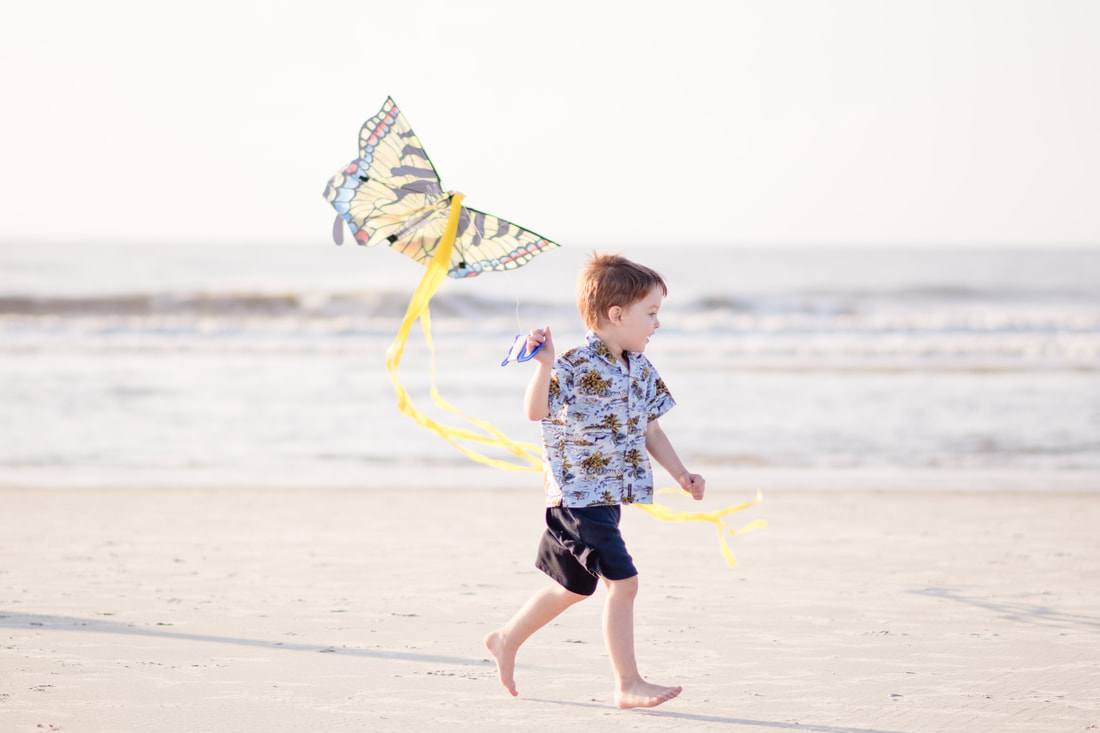 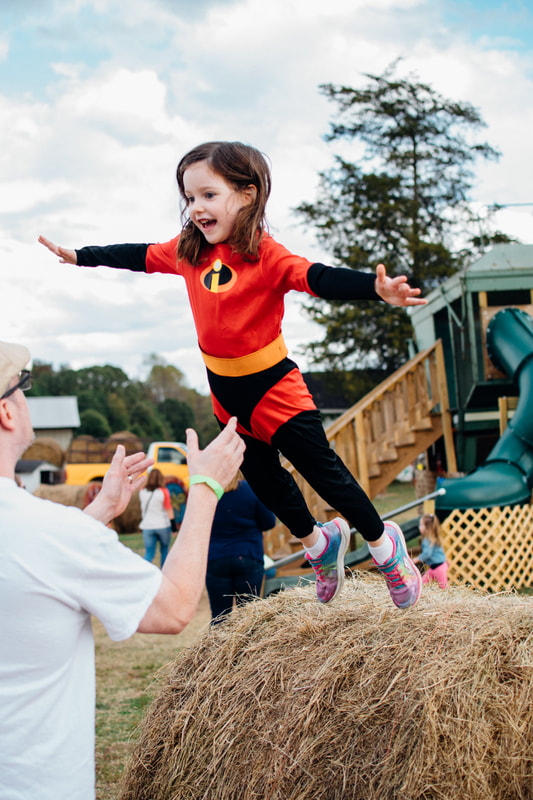 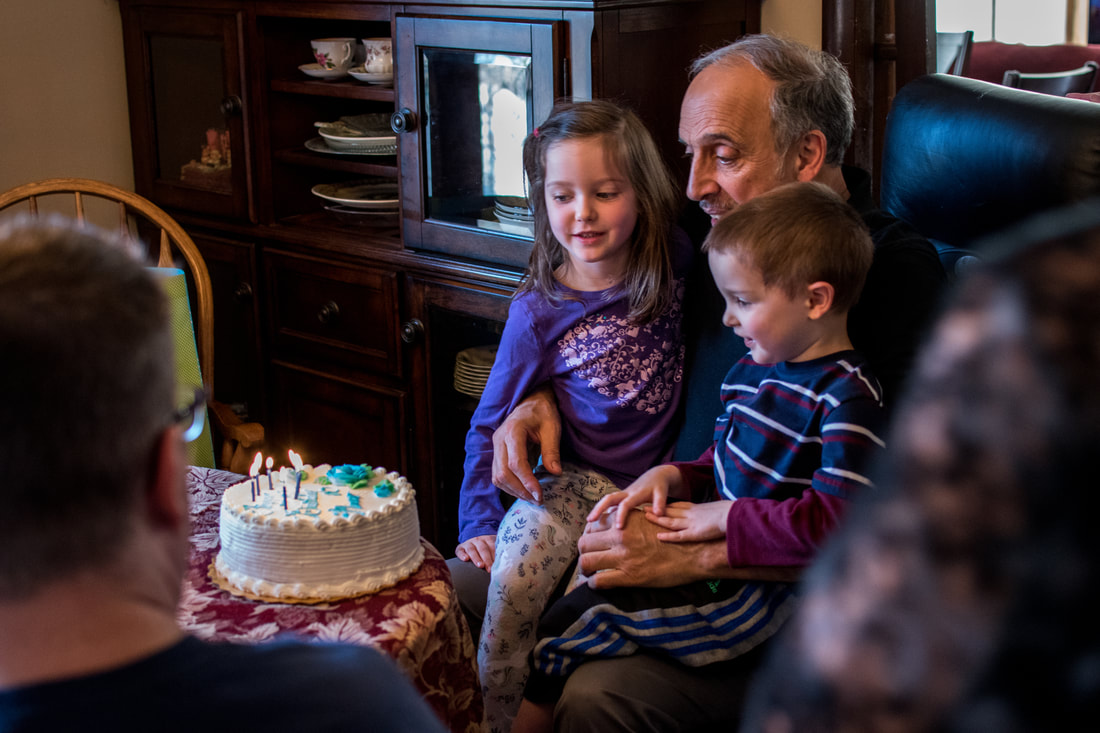 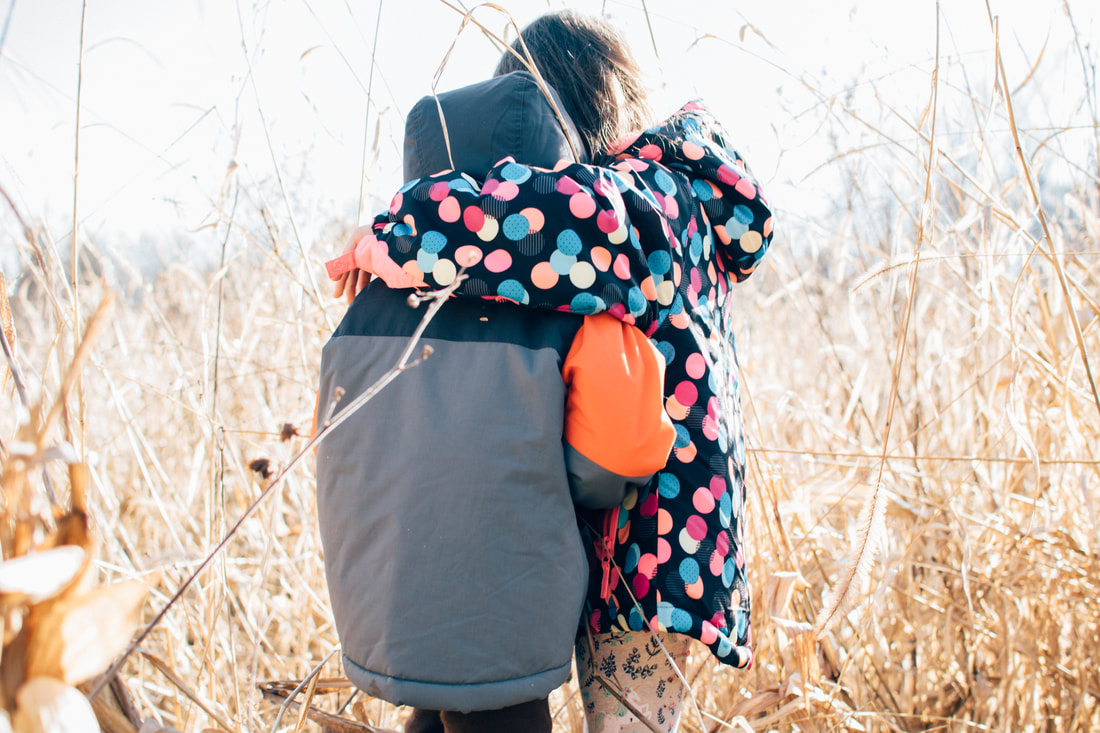 
0 Comments
This is not typical of me, but sometimes I just don't take my DSLR Nikon D5500 camera with me to fun experiences. I feel like it can be a little daunting knowing I have to keep it around my neck, then come home and transfer all the RAW files to edit in Lightroom. Not that I don't love it, but I need a break from it sometimes. So in comes my new iPhone 8, which I recently had to upgrade to for more storage capabilities, and I decided those pictures would be good enough for this trip. I'm actually really glad I did, because I was pleasantly surprised at the images I captured and then edited directly on my phone with the Fotor app. It was a simple and faster way of getting those images into Facebook and sharing.
We decided to brave the cold on Sunday, December 10th when it was a chilly 35 degrees to get some fun in at Carowind's new Winterfest in Charlotte, NC. We dressed warm and brought those "hot hands" warmers with us, so it wasn't too bad walking around with it being so frigid. Since we are Gold Pass members, Winterfest was included for us, but you can find out more ticket information at www.carowinds.com/play/winterfest. I was amazed and nostalgic as my family and I perused the beautiful display of lights, watched the singing and dancing Christmas entertainment, rode some of the rides that were still running, and visited the BEST SANTA EVER! I asked both my kids (3 and 5 years old) what they liked best. T said he liked the Santa and L said she liked the lights. My personal favorite was that the lights were synchronized with the music throughout parts of the park. If you weren't sure Winterfest was worth the trip, I would say that it is. However, we went on a Sunday night when it was cold with less crowds. I always appreciate having more space and less crowds to enjoy a fun experience. I suggest trying to go on a Sunday night if possible. If you end up buying a season pass for 2018, then you can get your trip to Winterfest included in the season ticket price. Feel free to share your experience in the comments if you end up going. Photography Tips: If you are using an iPhone to photograph a night time experience with Christmas lights be sure to use the tap and drag option for exposure. All you have to do is press your finger on the image for a few seconds. A little sun will pop up. Touch the sun and move it up and down for a change in exposure. If you are bringing your DSLR camera make sure you increase your ISO in darkened situations. Do not use your flash! You should shoot in manual mode to give you full control of your camera. If you do not know how to use manual mode yet you are missing out on all the beautiful images you could create with your camera. If you want to learn how to take full control of your camera in 2 hours take my Introductory Photography Class. I will teach you how to go from auto mode to manual mode and you will be amazed what your camera is capable of when used in manual! Click here if you are interested in getting better photos with your DSLR camera. One of the events I look forward to each year in Rock Hill is the downtown area being transformed into a winter wonderland, despite the lack of snow. Being originally from Syracuse, NY (usually wins the prize for snowiest city in the nation) I'm much happier with the fake snow they provide at this event....I don't have to shovel it! The amount of time and coordination for an event like Christmasville must take hundreds of elves along with the magical leadership of Mrs. Claus and Santa. There are a TON of activities going on all weekend long from Thursday-Sunday. This includes cookie decorating workshops (I'll have to try this next year as I ALWAYS burn my cookies), Tea time with Mrs. Claus, the Children's Museum Celebration, a Fezziwig Ball, Horse Drawn Carriage Rides, Santa's Toy Workshop, Train Rides, Trolley Tours, Pony Rides, Window Exhibit contests, a ton of street entertainers, book stories with The Grinch, and so much more. If you want to know more so you can plan your trip here for the 2018 year take a look at www.christmasvillerockhill.com for a list of the events. Both my 3 year old son and 5 year old daughter had an AMAZING time at Christmasville. I brought my Nikon D5500 and iphone 8 with me to capture each moment as we enjoyed our little town turning into the North Pole. You can see our adventures in the images above. If you aren't sure you should attend this next year, just go and you won't be disappointed. You do not need to spend any money as the event is FREE, but there are fees to ride the carnival rides and ice skating rink. There is a huge tent you can walk though to buy local products as gifts and Amelie's Cafe was open for the most mouth watering eclairs! There are also a lot of food tents if you come very hungry. I actually wish I got more pictures, but there is so much going on that it's really hard to capture it all! Photography Tip: Use an aperture of 2.8f or less when you want bokeh (blurred background) in a portrait. Most of the street characters I took pictures of as I strode through main street had bokeh because of the aperture I was using. If you want an image of the street and more of your image in focus you should choose a higher aperture. Remember when you are at an event with your family to not only take pictures, but also enjoy the experience. If you aren't getting the images you visualize don't get frustrated. Every time you press the shutter you are learning more about how your camera works. If you are using your camera in auto then you are not taking control of you camera. If you want more control and less frustration, take my Introductory Photography Class that I offer. Click here for more info. We enjoyed our time at the October Autumn Farm Festival at Black's Peaches Farm, 1800 Black Hwy in York, SC. If you want to visit a quaint farm with your family that is not too far from Charlotte this is the place! They are not only a farm, but have a bakery and eatery inside as well. Want perfectly fresh apple cider? You need to get there! Black's Peaches had Fall Fest going on when we visited and it was a good ole' time! There were a ton of activities and outside fun to be had. They had farm animals (pigs, goats, donkeys), an educational area all about corn, hay bails painted with characters, a hay ride through the field and woods, multiple slides, a pretend cow milking area, a tractor for photo opportunities, a picnic area, a house made from hay with games inside, a maze where you could not lose your children, a sunflower field, and the store where you could buy food and drinks. Plus, it was not crazy busy like many of these festivals can be sometimes. It was a perfect day! Photography Tip: Always keep checking your light meter if you are using manual mode. If the light meter shows you are too far to the left or right from zero your pictures may be too dark or too bright. You can correct this by changing your shutter speed or aperture or ISO. I typically change shutter speed the most. That doesn't mean you can't use those images though. Once you get your SD card home use a free editing website like picmonkey.com or fotor.com to brighten or darken those images that you still want to keep. You can do so much more than only adjust exposure though. You can add color, turn pictures black and white, add clarity, change contrast and more. Have fun with it and try something creative! I personally use Lightroom, but that is certainly not the only option out there.
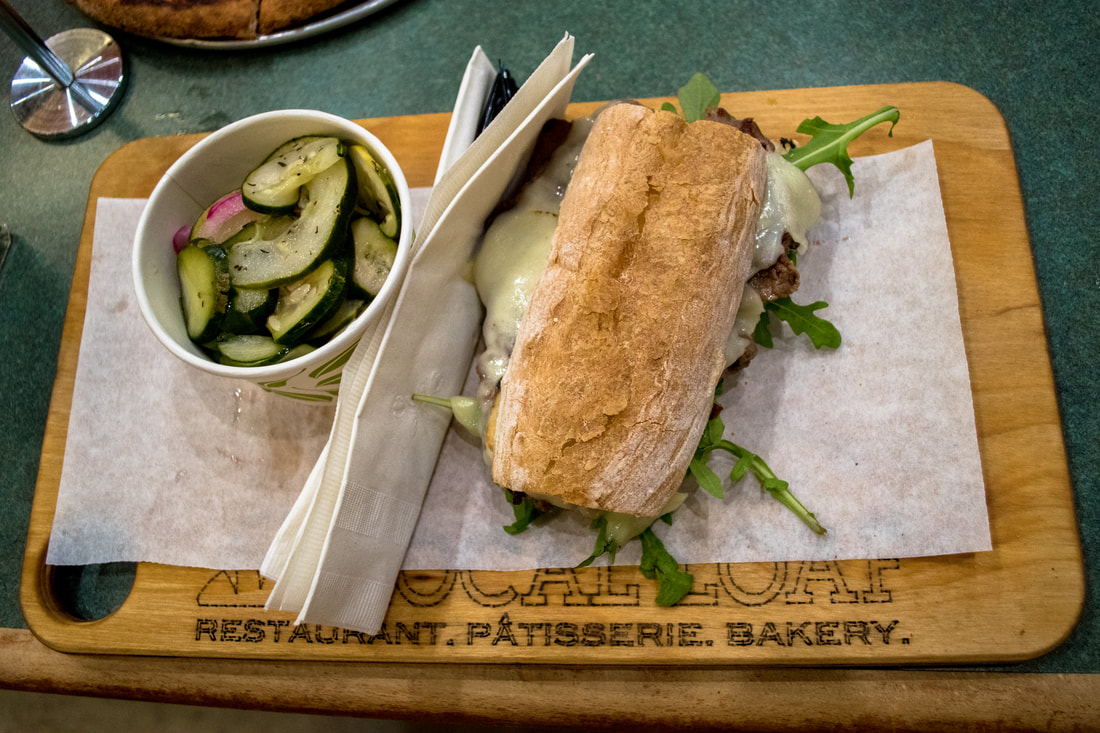
If you are in the Rock Hill, SC area, or even close, "Ceramics and More" at 190 Chester Street is more than worth experiencing. It is a ceramics studio and much, much more. My daughter and I have never painted ceramics before, but we learned a lot from the family members who own the place. They were super helpful and showed us the ins and outs of ceramics. We literally had hundreds of ceramics to choose from right on site to fulfill our creativity needs. Plus, they were super affordable. Photography Tips: Luckily they have HUGE windows for great lighting in order to get fantastic pictures while you are there. As you capture the memories you are creating, remember to try different angles and to get the details as well as the pull backs. I also changed my Aperture as I worked through taking the images above. The lower number aperture (f/1.8) allows for more bokeh (background blur). You can stop at Ceramics and More any time during open hours (in the pictures), or you can attend a class. They also having painting class, jewelry making classes, and more. Check out their Facebook page to get updates on the events they hold. Enjoy getting your artistry on! I have fond memories of Smokey the Bear when I was young and his forest fire prevention techniques. He was campy.......get it.....but the message got through. However, as time passes marketing gets better and Smokey is no exception. Smokey the Bear is still helping to prevent forest fires, but now he has a whole fun experience that comes along with his message. If you get a chance to stop at the Museum of York County in Rock Hill with your kids, do it! They have a new exhibit that will only be there for a limited time. It is all about camping, forests, and fun! My kids are 3 and 5, but I think older kids will enjoy it too. One of my favorite parts of the new exhibit is the camping area with a tent, pretend campfire with bucket of water, and stars in the dark sky (ceiling) above. They even have the classic marshmallows on sticks (again, these are not real). Since I am not brave enough to take my 3 year old boy, who refuses to listen to me, on a trip to a real camp with a real campfire this is a good alternative. Photography Tip: When shooting is dark areas you should boost your ISO. My ISO was up to 5000 in the picture above of my kids in the tent near a lantern. This will increase "noise" in the picture, but I'd rather have that than a blurry picture. I also shoot in RAW so I have more details to allow for a better edit in post processing. It looked like a very dark picture at first and I brightened it with Lightroom. Since I am a science teacher as well as a photographer you know I was loving the "meet the scientist" and species identification area. I thought the picture of my son with the snake identification chart behind him was pretty funny. I'm not a fan of snakes, so his face reminds me of my own when talking about snakes. It would have been a worse face for spiders though! My son was obsessed with the part of the exhibit where he could take golf balls and put them through a track system where they would eventually make lots of noise by hitting cymbals at the end. My daughter enjoyed building the outside parts of a house and fishing from a cute little boat. If you have never been to this museum they have much more than just the new exhibit. They have an impressive amount of specimens (taxidermy animals) in the Naturalist Center, a play area (Tot Town) for kids 6 and under, a planetarium with daily "shows", and a nature trail behind the building with a picnic area. If you are coming from Charlotte, the museum is not too far from route 77. There is a ton of parking and don't forget to take a book from the little library box outside. Find out more about the museum: http://chmuseums.org/myco/ Photography Tip: When taking picture of your kids at a museum remember to get different perspectives. Try some shots from above, below, details, and far away. Some shots you might want them to smile, but others you want to capture them engaged and not even noticing that you are taking pictures. These are usually my favorite because they are being their genuine selves in these moments. If you want more helpful tips and keep up to date on my latest photography classes please sign up for the newsletter at the top of this page or email me at [email protected]. You can also find me on social media at the following handles: https://www.facebook.com/PhotographyByLarisa/ https://www.instagram.com/photography_by_larisa/ https://twitter.com/larisarestive https://www.linkedin.com/in/photographybylarisa/ Only You Can Capture the Moments! 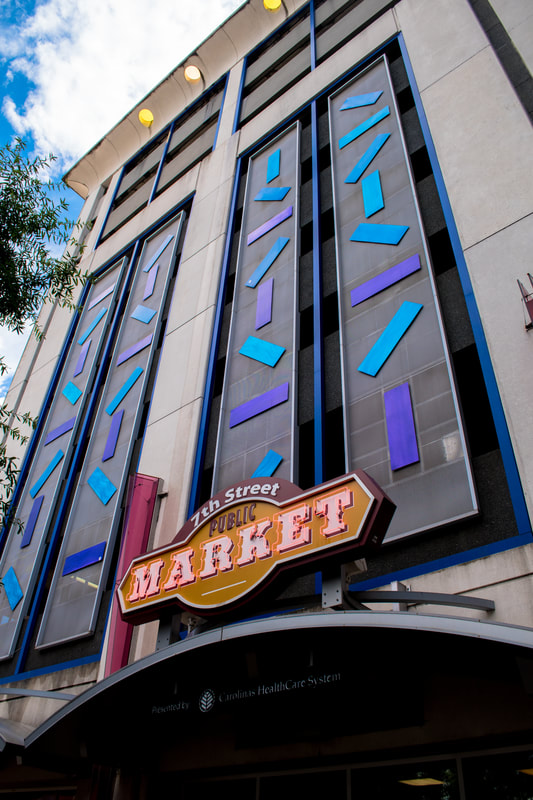 Time has been flying by and we were in Amelia Island, so it took a while for me to write this post. More about that trip in a different blog post! Click here for the first post about our trip to Charlotte. Continuing from the last blog, after we left Imaginon with growling bellies we took a short walk (across the train tracks) to 7th Street Market for some good eats. Luckily they have a bunch of different food vendors there so no fighting about what restaurant to eat at. I'm always excited when whining is not happening! The kids chose Pure Pizza for their plain cheese pizza go-to lunch. My son has a peanut allergy so I double checked on the nut policy and was pleased to find out they have no peanuts or tree nuts in their facility. We placed the order easy peasy, were given a number to put on our table, and off we went to find mommy and daddy some food. I have a tendency of getting hangry if I wait too long to eat, so I was hopeful I would find something quick and deeeelish. Photography Tip: When indoors with fluorescent lights make sure your white balance is on fluorescent so that your images do not come out too blue or too yellow. 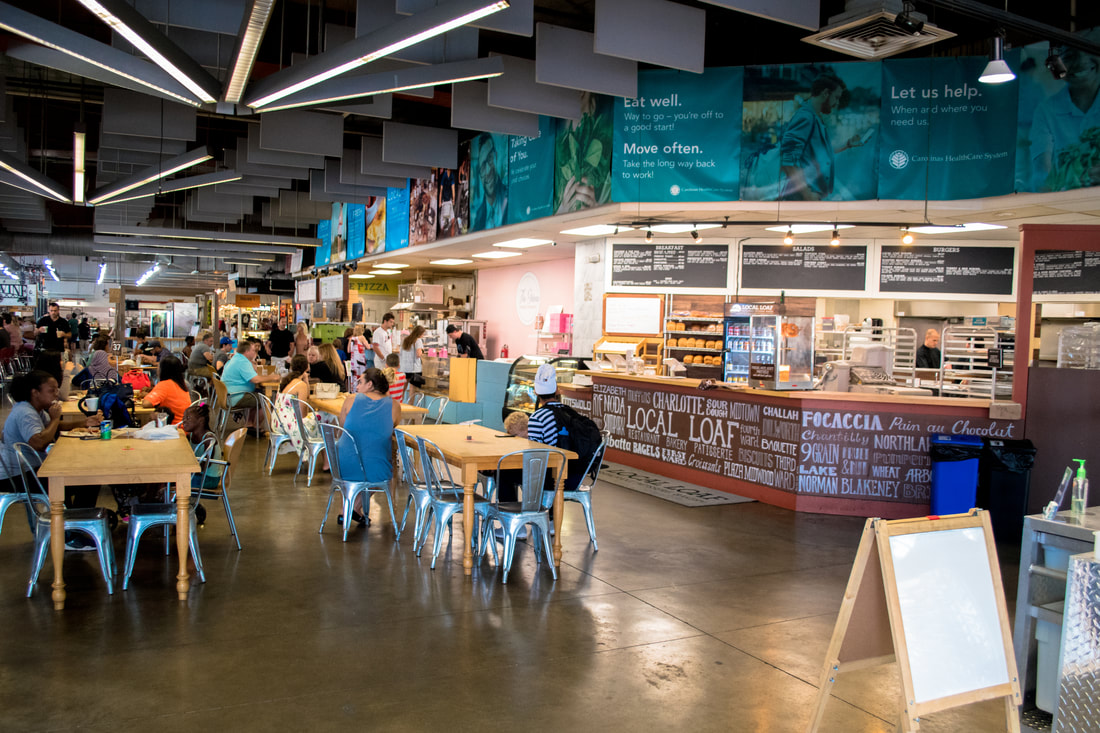  ISO 2000, f/3.5, 1/100 sec 18mm I've been a little obsessed with sushi lately, so I decided the best place for me to fill up and curb my hangry was Bonsai Fushion Sushi. There was only one person in front of me in line and then I ordered 2 basic California rolls. My hubby went over to Local Loaf for a sandwich. We found a table in the back of market street and waited for our orders to come out. The pizza came out super fast, then my hubby got his sandwich soon after. I waited a fairly long time for the sushi, but maybe it just seemed like a long time because everyone else had eaten theirs before I got mine. Oh well, I guess they were busy! You know this only happens when you're famished. ISO 2000, f/3.5, 1/200 sec 18 mm All the food was tasty and we were happy adventurers with full bellies. Photography Tip: Raise your ISO higher when you are in low light areas. This will help you to increase your shutter speed. I like to keep the shutter at least 1/125 sec with pictures I am taking close up. 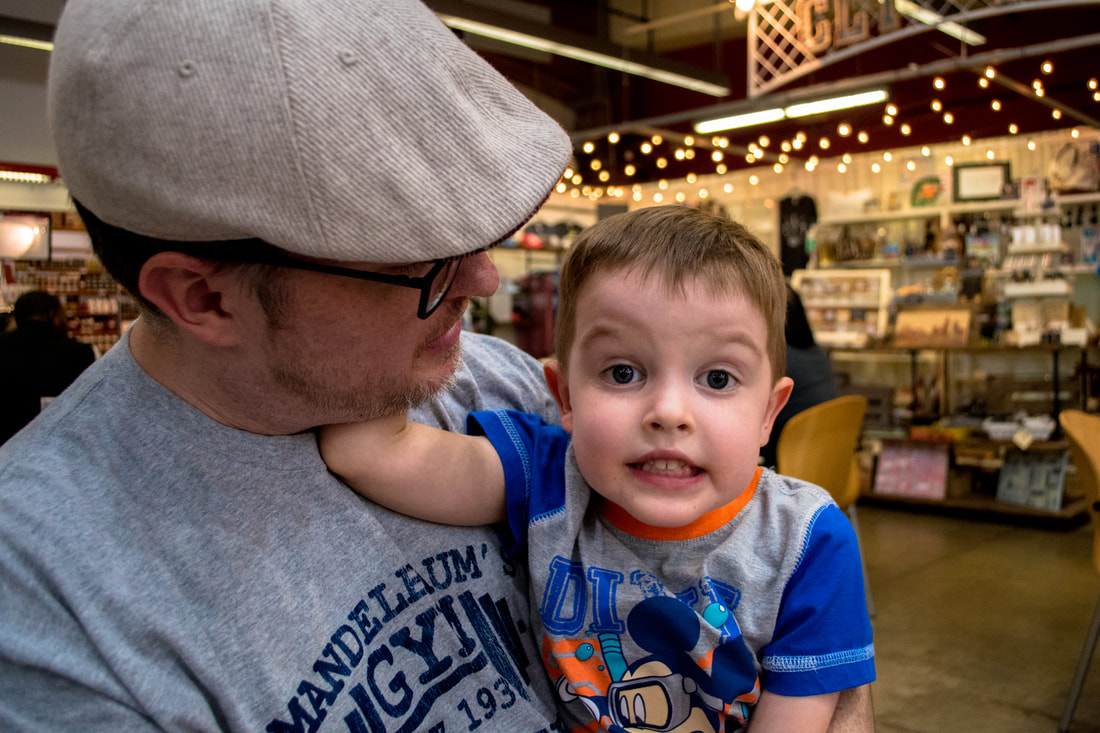 ISO 2000, f/3.8, 1/125 sec 20 mm 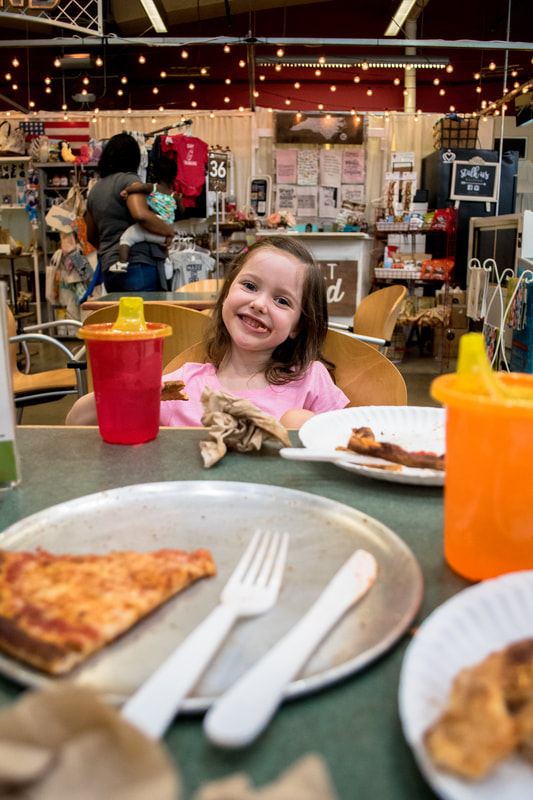 ISO 2000, f/3.5, 1/125 sec 18 mm Pizza smile! The 7th Street Market is conveniently located right at the 7th street train stop, so we walked out the side doors and the train had magically appeared at just the right time. Once in a while we are lucky like that! 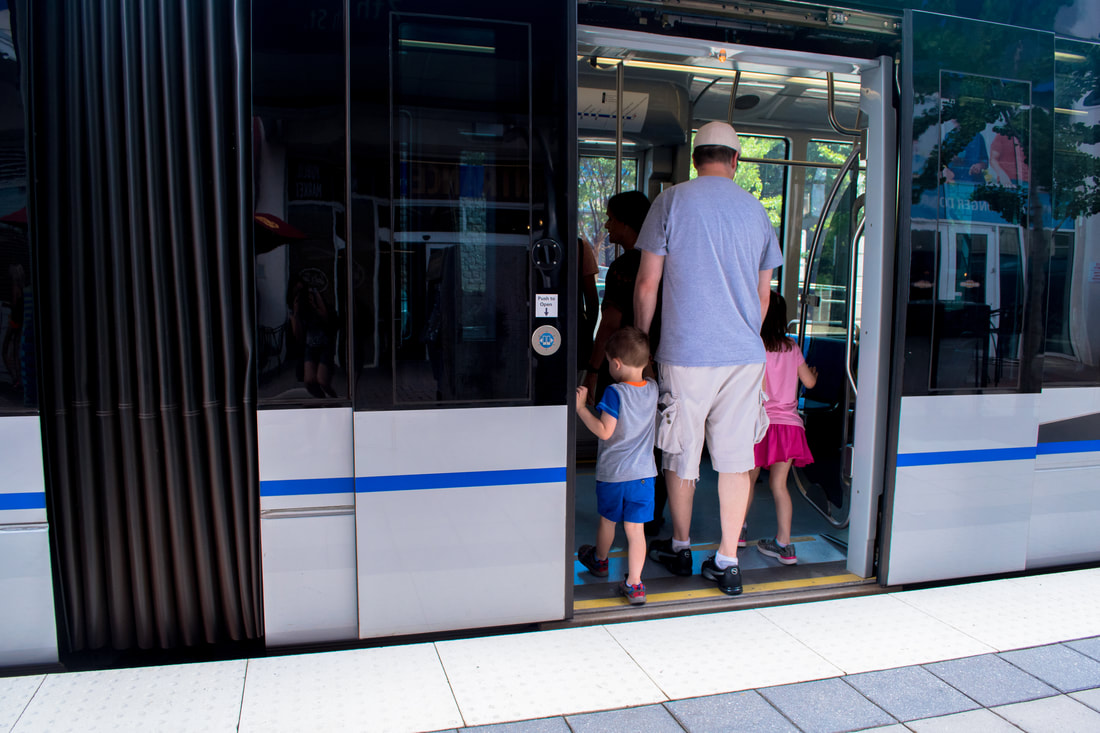 ISO 400, f/6.3, 1/200 sec 18mm The trip back to the station was a little slower than usual because there had been a storm while we were in Imaginon and some street lights were out. But the train conductor (is that what you call them?) got us back safely to the Scaleybark Station. The kiddos were happy to have the ride last a little longer anyways. They were having so much fun that they didn't want to go home, but I knew naps would be taken in the car on the way home. And that's just how we ended our journey. Two cute little napping kids and a quiet drive home! Photography Tip: Make sure that your focal point is on the subject you want to have in focus. As you can see from the picture of my hand holding my son's hand I focused on our grasp and the foreground and background are out of focus. That out of focus look is called "bokeh". For more photography tips and tricks or to just follow the adventures of me and my family please feel free to like my Facebook page, Instagram, Twitter, or sign up for the newsletter. Click the icons below. Do you have a train-obsessed toddler like me? Or are you looking for a fun day trip around Charlotte? The Lynx Blue Line train is a perfect place to begin your adventure. Just make sure to bring your camera so you can capture all the fun! I will include photography tips and camera settings as well as suggestions for your journey here. I strapped my Nikon D5500 around my neck and headed to Imaginon and 7th Street Market with my little family. I hooked on the 18-55mm kit lens because I knew we were going to a museum where I would need to zoom at times. I love my 35mm prime lens, but it's a little limiting in adventurous situations. I have posted the ISO, aperture, and shutter speed for some images throughout this blog. I hope it helps you to learn the settings and gives you more freedom to get out there and use your own camera on manual.
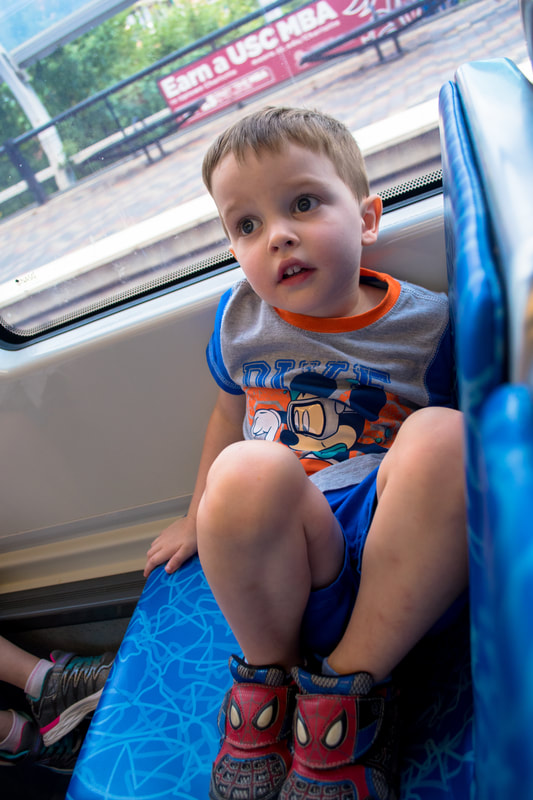
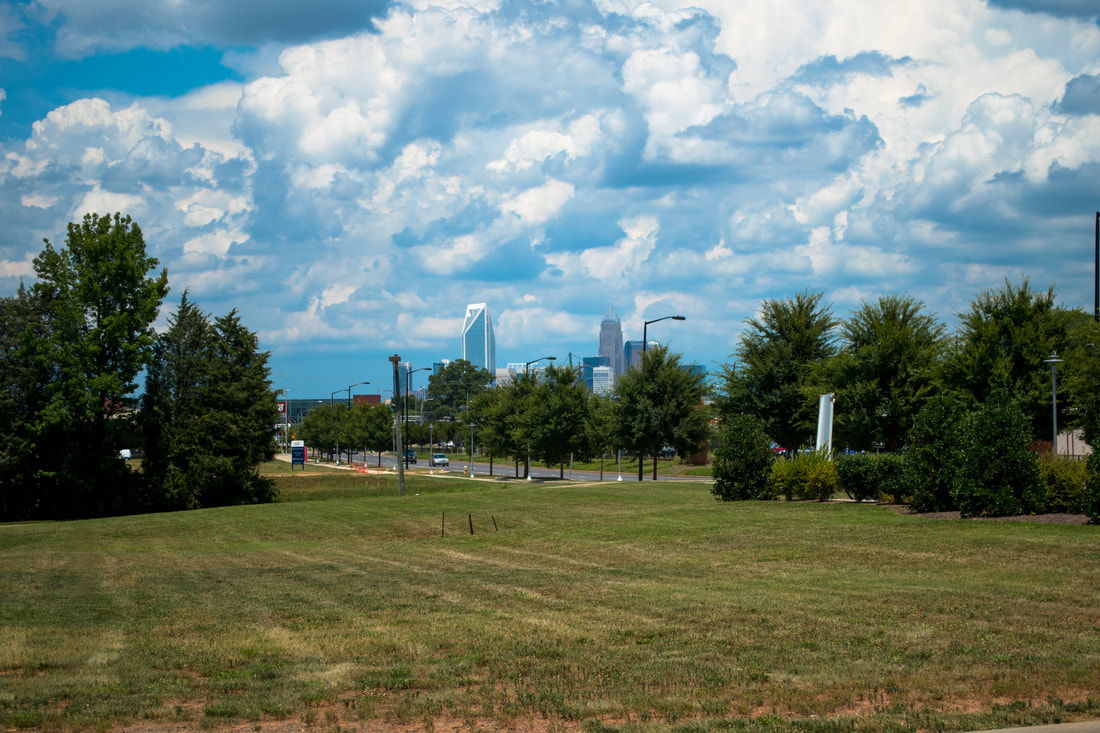
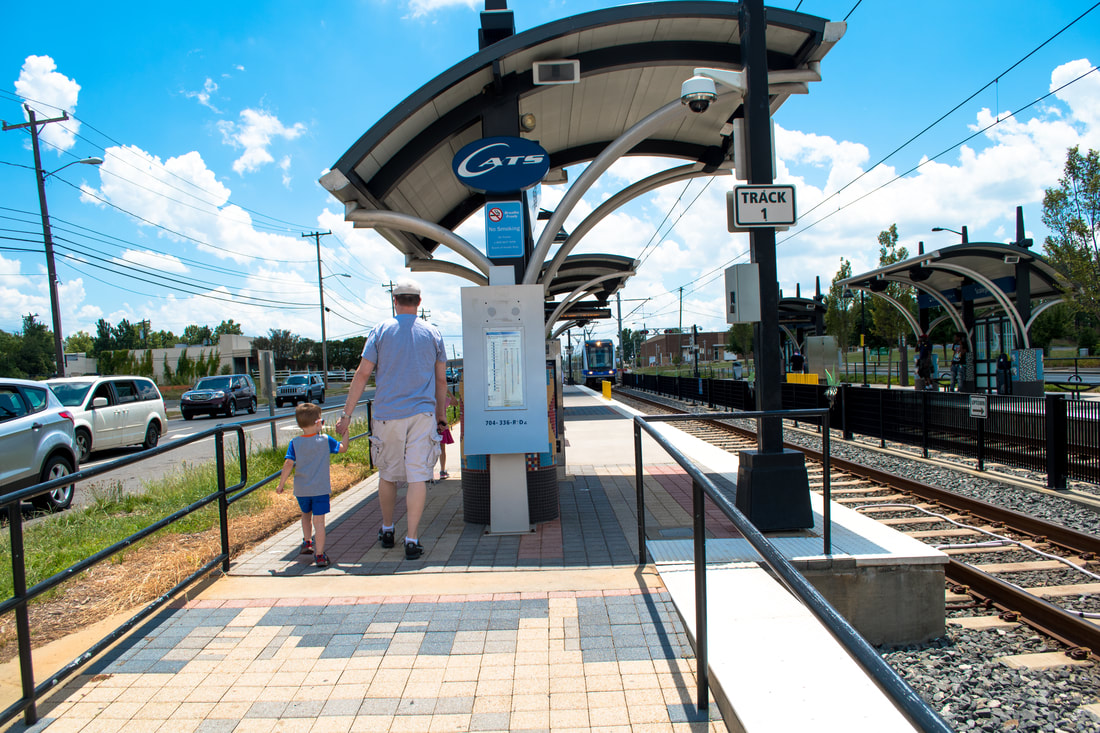 ISO 100, f/7.3, 1/500 sec There are kiosks where you can pay for your ticket before you get on the Lynx Blue Rail. There are random checks done for tickets, so you may or may not be asked to show it. Children 5 and under are free! Click here for more information about fares and schedules for the train ride. Photography Tip: Keep your ISO low (100-200) in outdoor pictures when it is very sunny. This will lead to less grain. 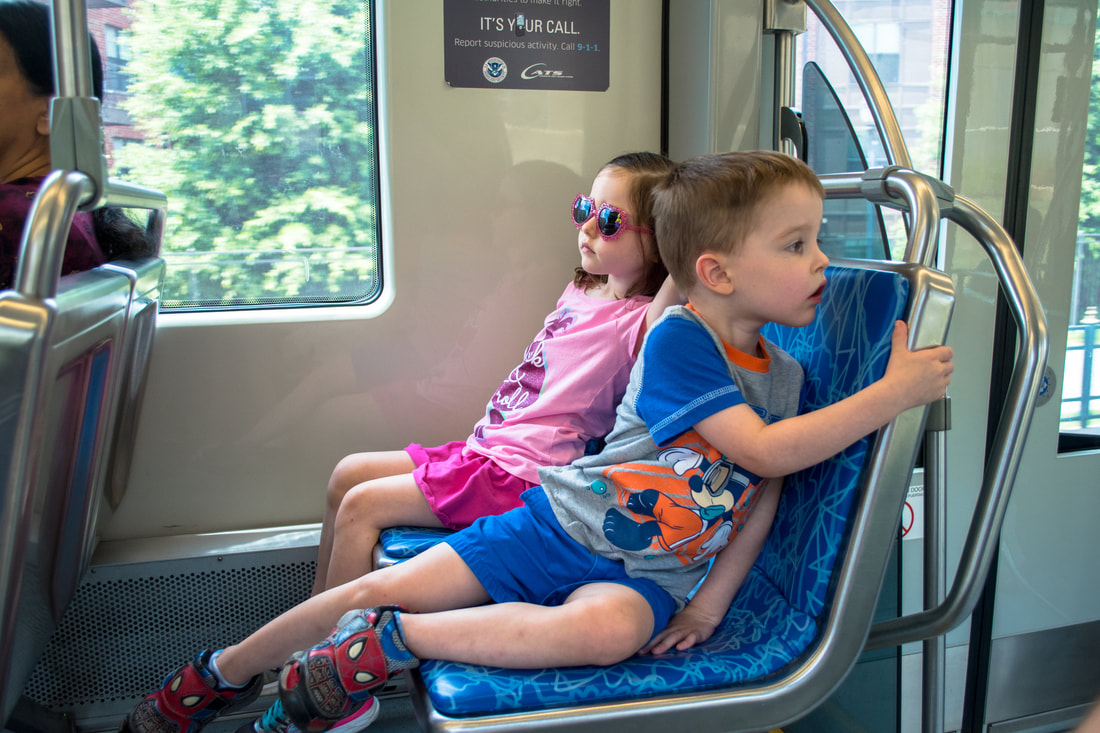 ISO 800, f/3.8, 1/200 sec My little curious ones were so impressed we were on an actual moving train....not just one at a museum. They made themselves comfortable pretty quickly. It was probably a strange feeling though to not be strapped down in a carseat while moving this fast. FREEDOM! Photography Tip: Raise the ISO and/or decrease your aperture in a location with less light so you can keep your shutter speed high enough to keep images sharp. 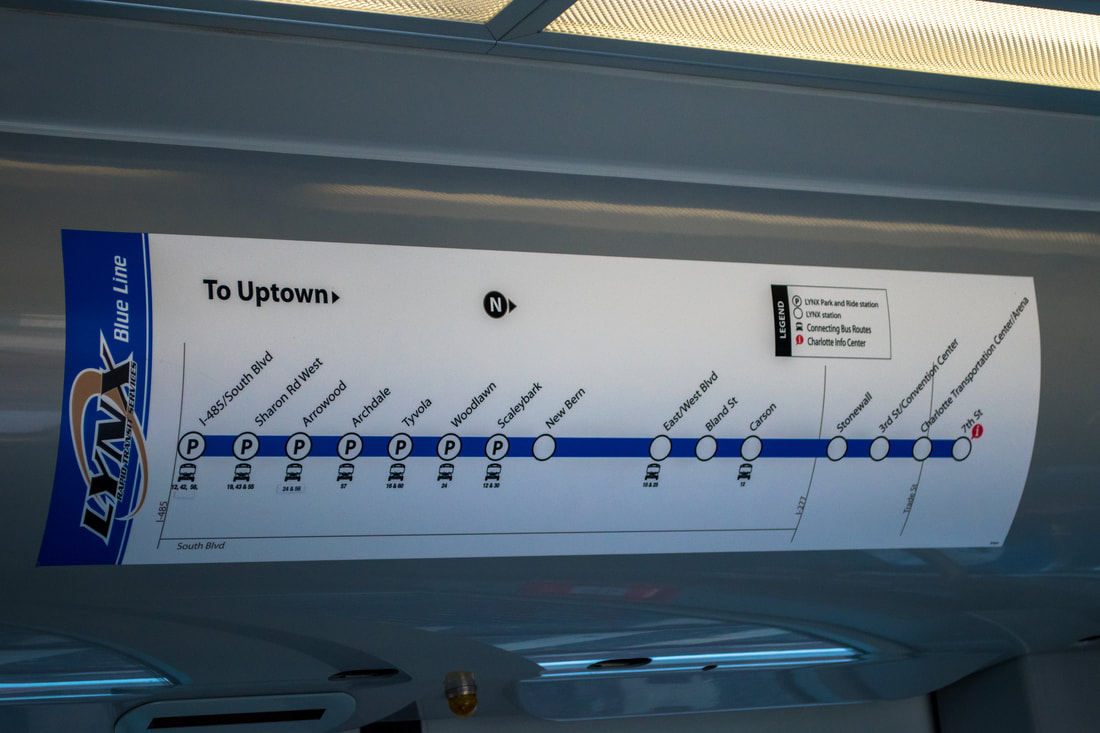 The Blue Line map, in case you wanted to see it! We drove from Rock Hill, SC to the Scaleybark station to get on because we did not want to make 14 stops starting at I-485/South Blvd. My babies and I tend to be prone to motion sickness (it sucks), so more stops could have meant more opportunity to see breakfast again. No thank you! Taking just 8 stops was more than enough time for the "newness" of a train ride to wear off anyways. They're at an age with short attention spans!
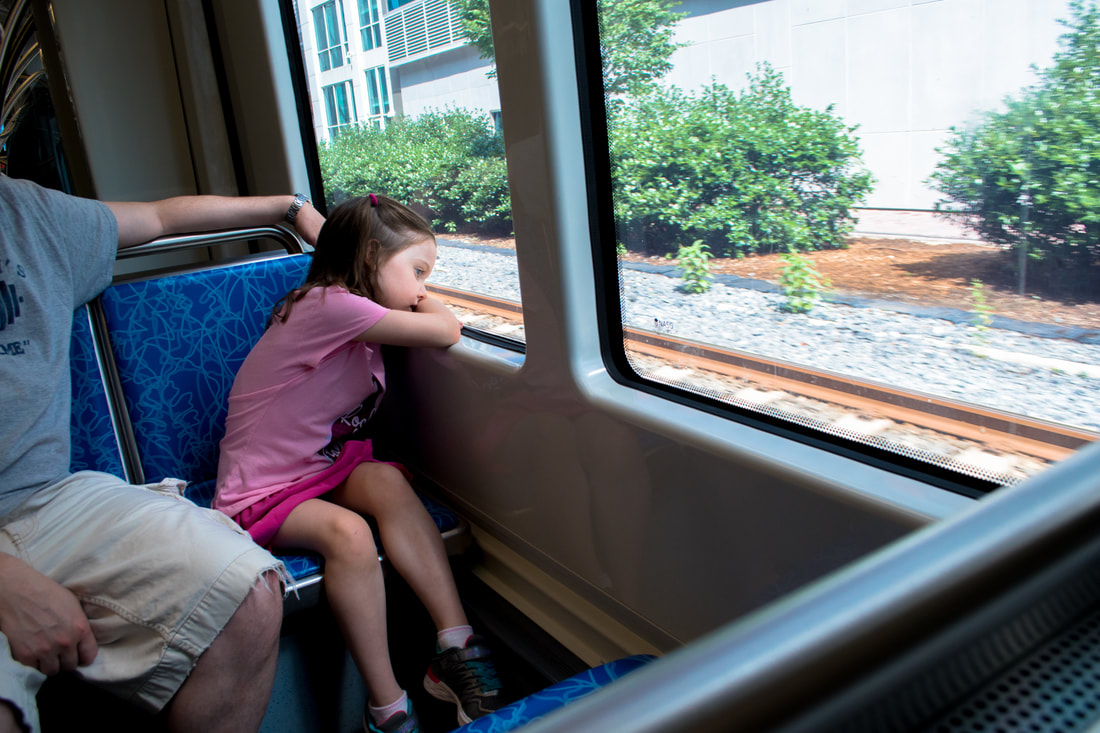
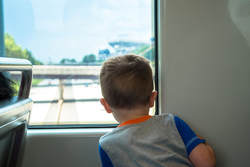
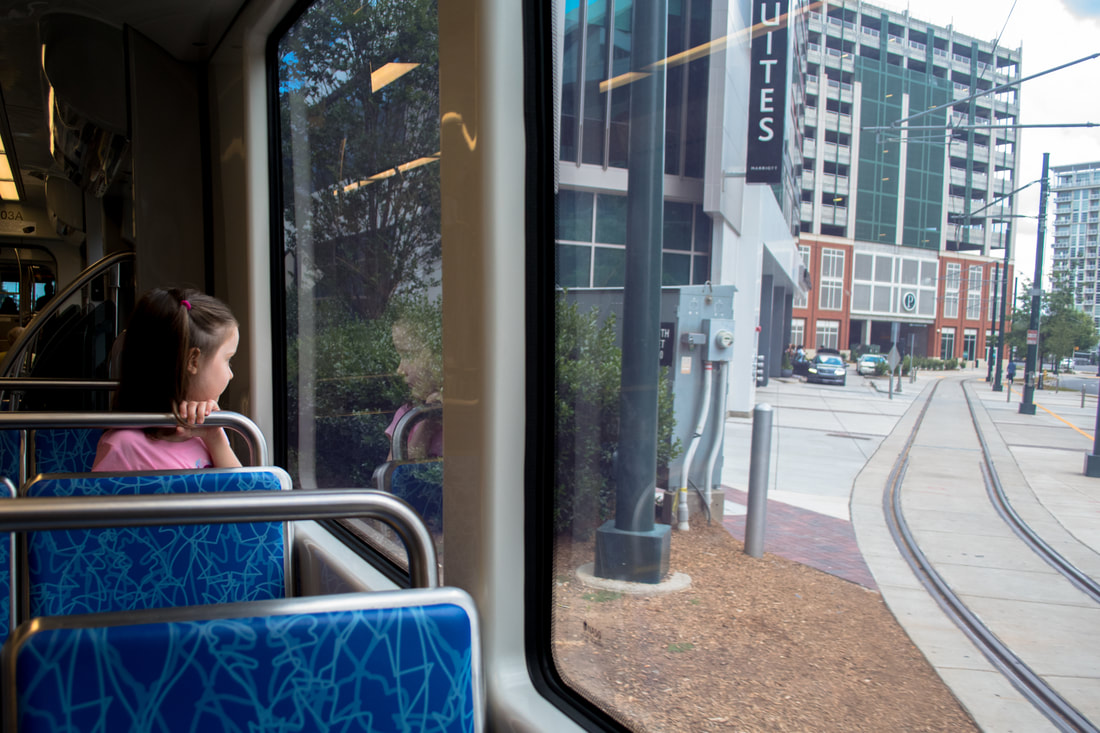 ISO 800, f/3.5, 1/250 sec As you're taking pictures, think about composition and different angles. L's face in the reflection of the window is what I focused on in the picture above. It just so happened that I took about 5 pictures like this as we were traveling and this one was my top choice. Why? I liked the V shape that the angles in this image make. Certainly the trolley tracks and sides of the building pull your eyes to one side, then the blue chairs and train windows pull to the opposite side where you spot L and her reflection. This is one of my more favorite pictures. It certainly wouldn't make the cover of National Geographic, but I am in love with it! Photography Tip: Take multiple pictures of the same image, but not too many. You will waste a lot of time going through all of them! 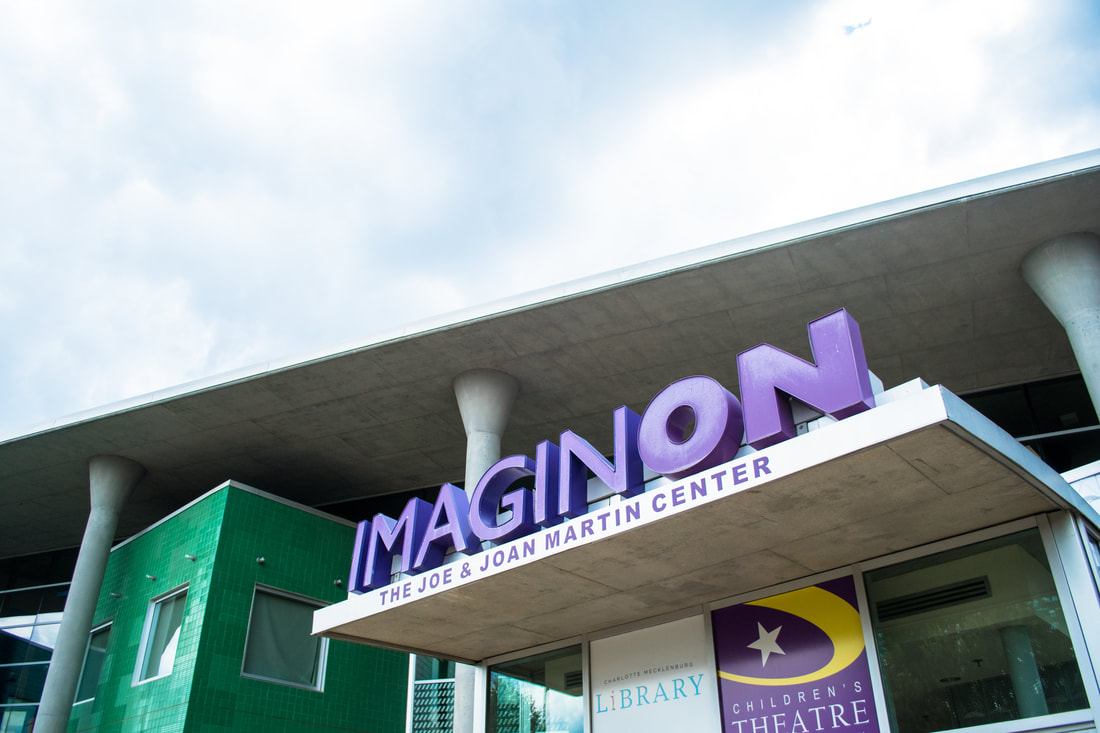 ISO 400, f/4.0, 1/2000 sec Once we embarked on the last stop (7th Street) we sauntered out of the train and headed to Imaginon, which is right on the other side of the tracks. It was hot out, so we did not spend much time outdoors, but there were some cool structures. 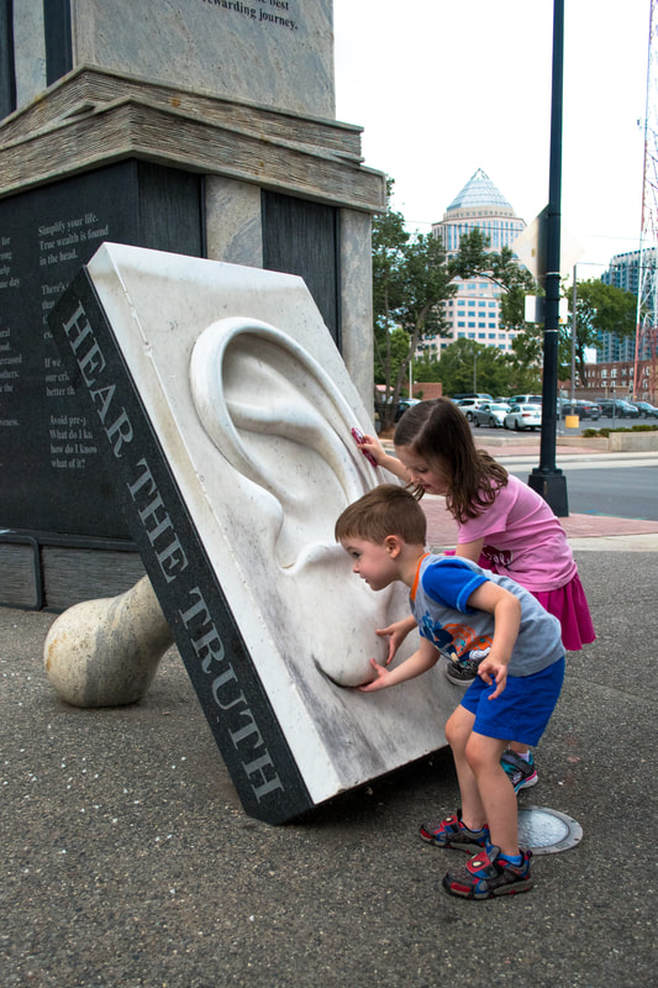 ISO 800, f/3.5, 1/4000 sec One of my son's cute quirks is that he likes to pull on other people's earlobes. Usually just family members and friends, so thankfully not strangers. It's kind of random, but endearing in a way. So when he saw this HUGE ear I knew exactly what would be happening. L had to get in on the joke too! Photography tip: It's okay if you forget to bring your ISO back down to 200 once you are outside in the sun again. You can compensate for this by raising your shutter speed to something like 1/4000! I had to get this photo quickly so I just went with the ISO being at 800. 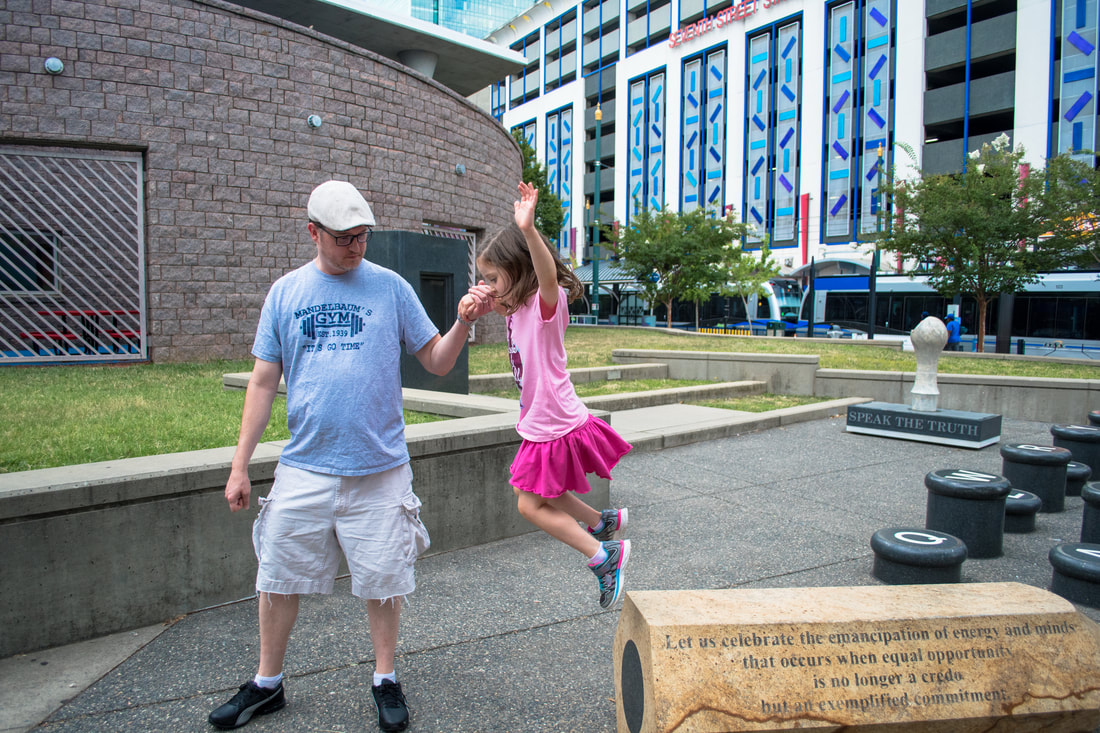 ISO 400, f/4.0, 1/1000 sec This picture above was taken in front of Imaginon as well as the 7th street train station, just to give you an idea of how close they are to each other. You just need to hop, skip, and jump over the tracks! Photography Tip: When capturing motion, like L jumping, make sure the shutter speed is high. I had it at 1/1000 sec to prevent motion blur. L and T fell in love with Imaginon! Right now there is a Tinker Toy exhibit where the kids can engineer something creative. It's hard to really describe Imaginon. It's like a museum, play area, and library all melted into one big fun adventure land. The best part...it's FREE and air conditioned!!!! We haven't been outside a whole lot because 100 degrees just doesn't agree with me. Letting the kids play in this nice air conditioned fun space was exactly what they needed to get all that access energy out. Photography tip: All images above taken at Imaginon had an ISO of 2000 so that I could raise the shutter speed to no less than 1/125 sec. I kept the aperture mainly on f/3.5, which is wide open for the lens I was using. This also allowed for me to keep my shutter speed higher so that I would capture motion of the kiddos. Our Charlotte adventure did not end here though. After Imaginon we went across the train tracks again to 7th street market for lunch. More about the food and train ride back in my next post..... Want to learn how to take better pictures? Join one of the classes I offer by clicking here.
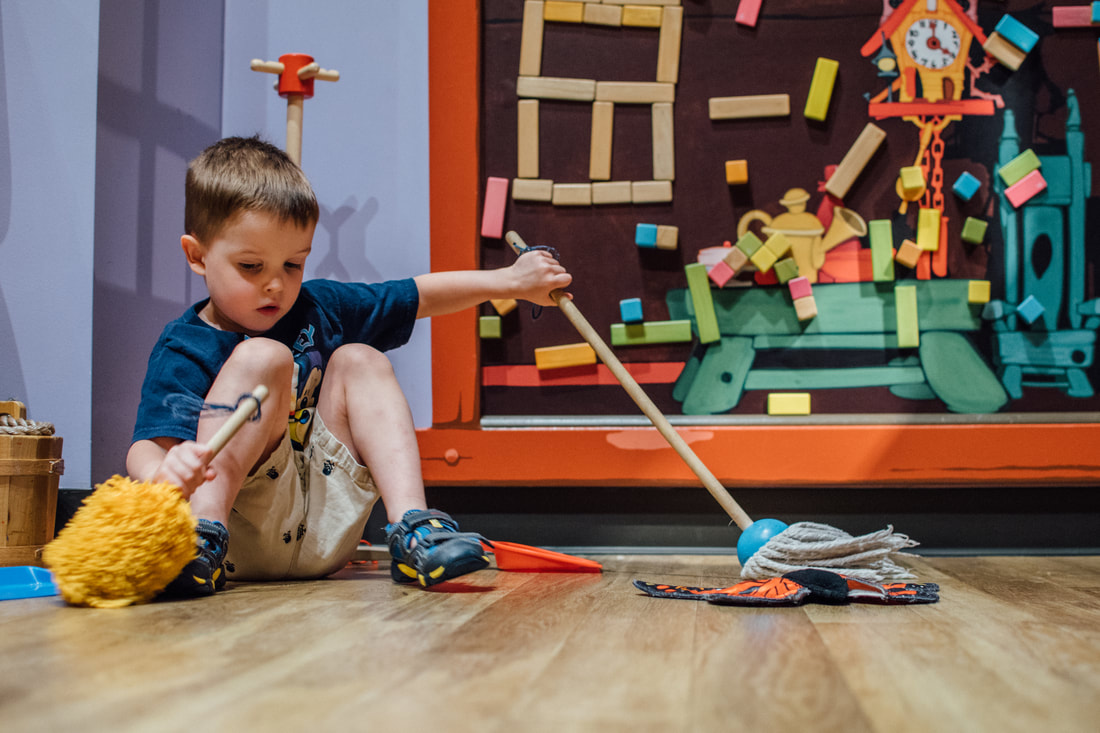
Hot! Hot! Hot! 100 degrees, and over, here in Rock Hill, SC. The heat has been excruciating for the past week and my kids are going stir crazy! The Carolina summers are certainly beautiful with all the happy sun, but man oh man, is that heat and humidity some serious stuff. It's like being slapped in the face with a steamin' warm wash cloth each time you venture outside. Needless to say, we have been sticking to indoor activities. The Children's Museum in Rock Hill was on our agenda today so my little Energizer bunnies could use up some of that energy. If I could just bottle it up and sell it I would be a millionaire! I took my camera with me on our excursion so that I could share with all of you some tips for taking pictures at a museum and give you an overview of this little gem we have here Rock Hill (only 20-30 minutes from Charlotte, NC). If you happen to need a place to bring your kiddos to beat the heat I suggest going to The Children's Museum on Main Street in Rock Hill. First, I suggest parking in the parking lot behind the museum. There is not much parking on the street and I know how pesky parallel parking can be with multiple children. So make your life a little easier and get that child transportation vehicle into the parking lot. It is on White Street. Here are a couple pictures to show you that you have the correct lot: 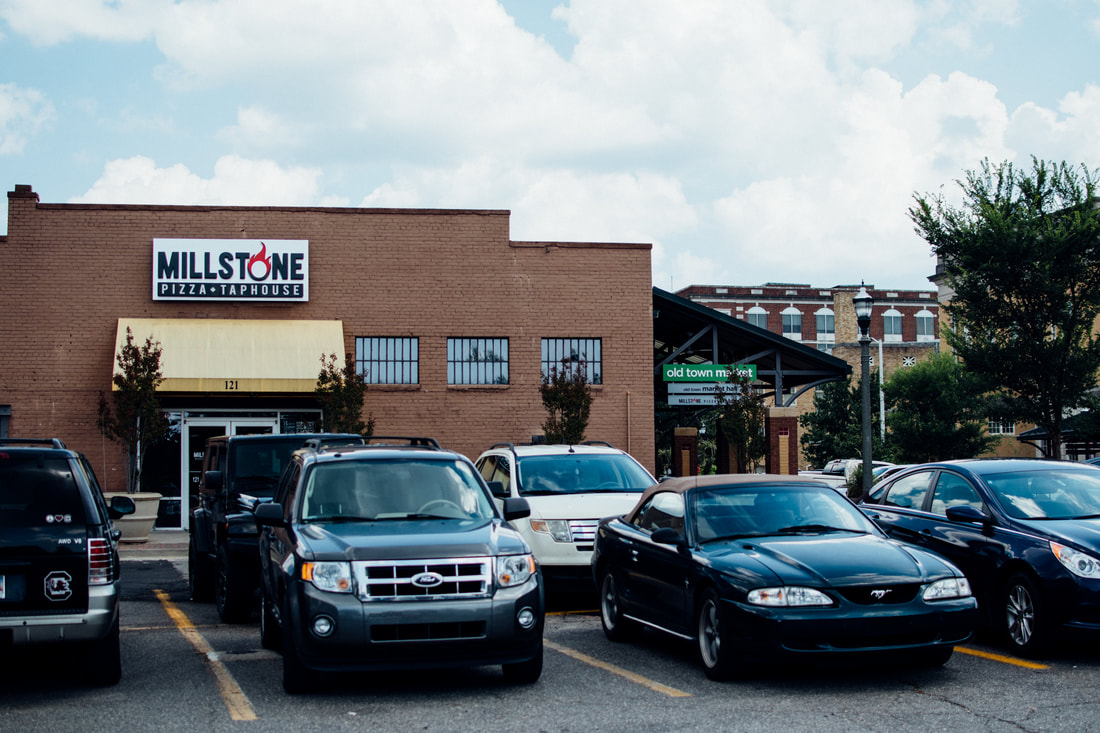 Millstone will be easily viewable from the parking lot. You will not see any signs for the Children's museum yet. BTW: Good pizza here! 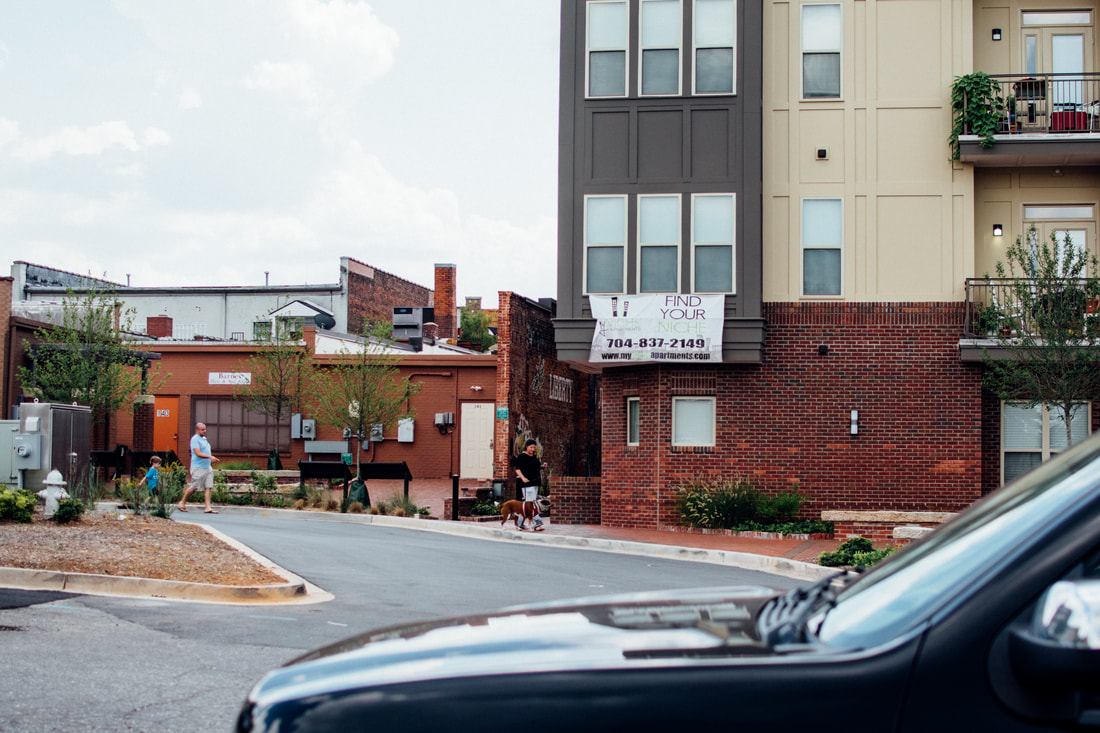 This is the important part of the parking lot. There is an alley behind that woman who is walking her dog. This is a very cute alley to walk down to get to the museum. 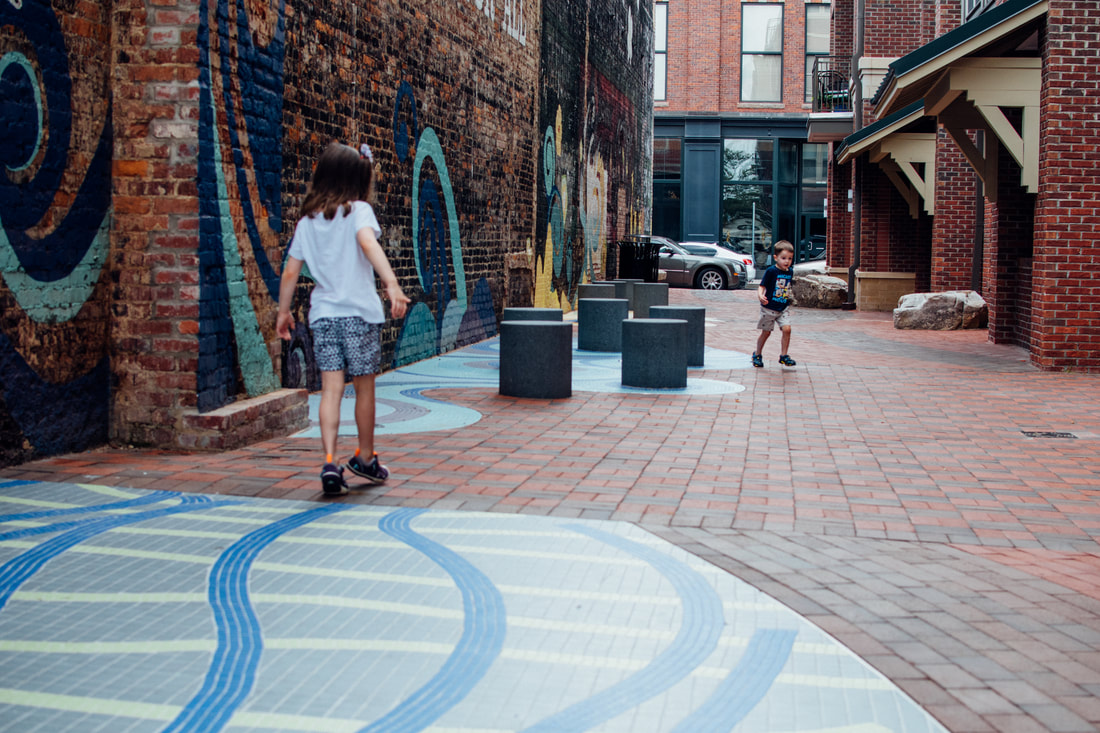 This alley was recently painted and tiled. If you haven't seen it yet it is a fun place to get pictures. As you can see, my kids thoroughly enjoyed it! Once you get to the end of this alley you will take a right onto Main Street and the museum is only a few doors down. 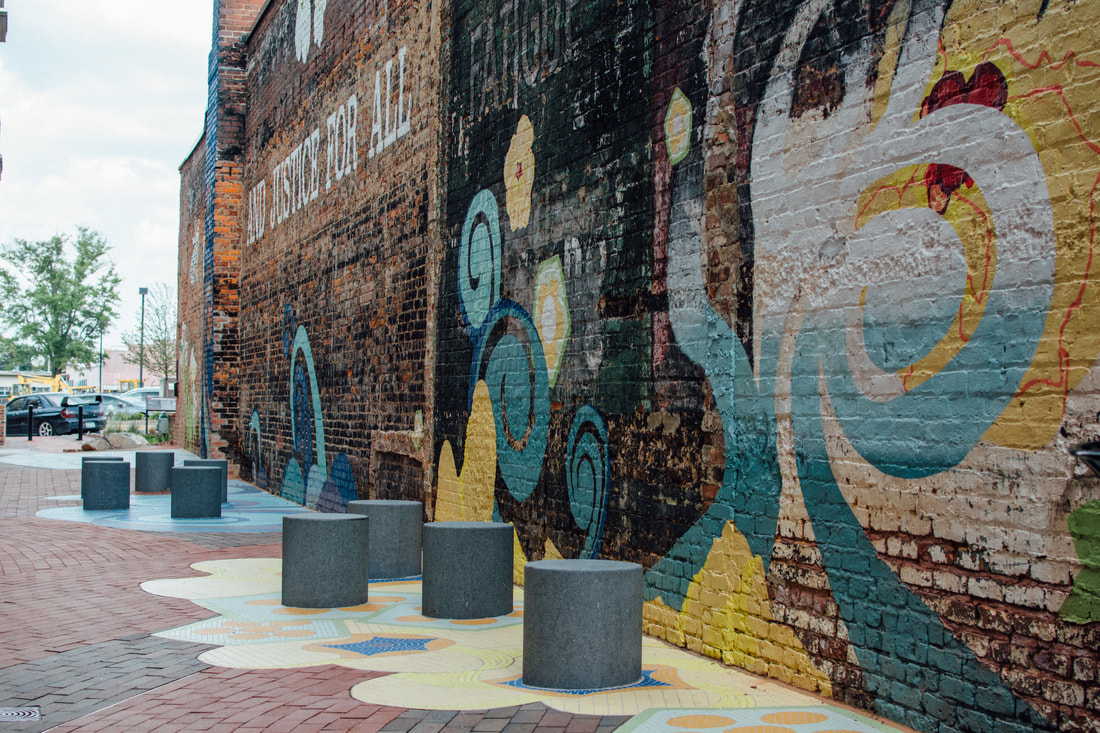 One more shot for the photographers to see the majority of the mural. We went around 3pm on this day and there was no direct sunlight, so it was easier to get an exposure that didn't have too much contrast. How did I get this image? Nikon D5500 Nikkor 35mm 1.8 prime lens ISO: 200 Aperture: f/3.5 Shutter speed: 1/400 sec 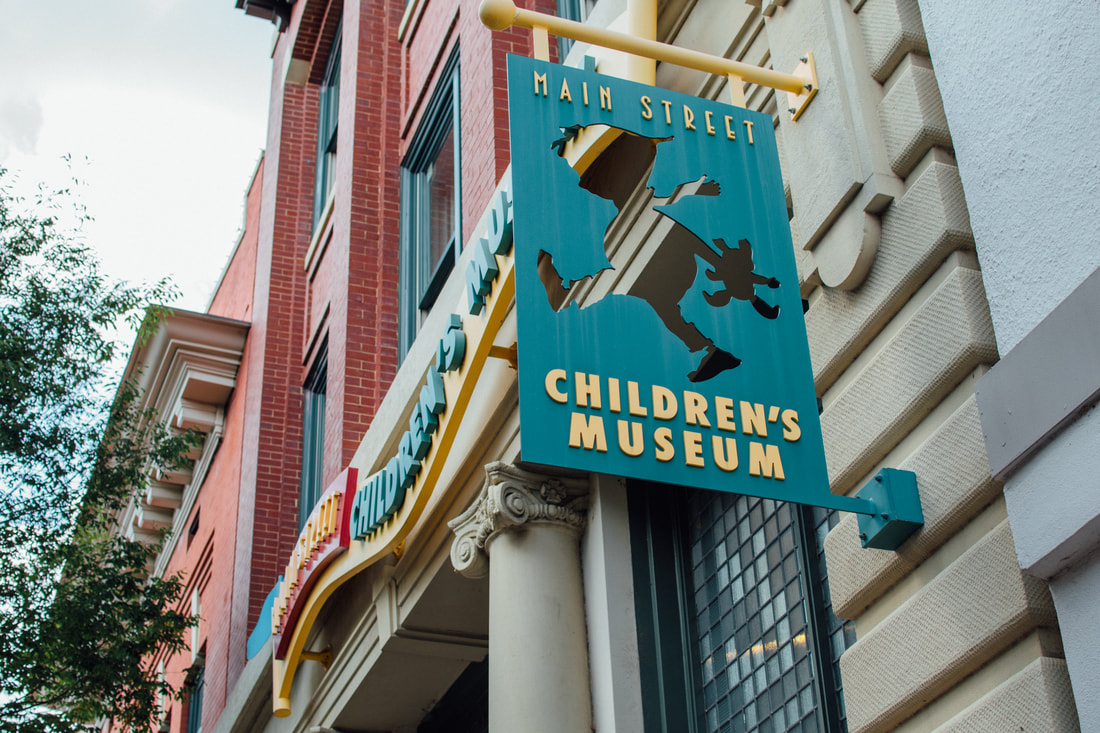 The Main Street Children's Museum in Rock Hill, SC 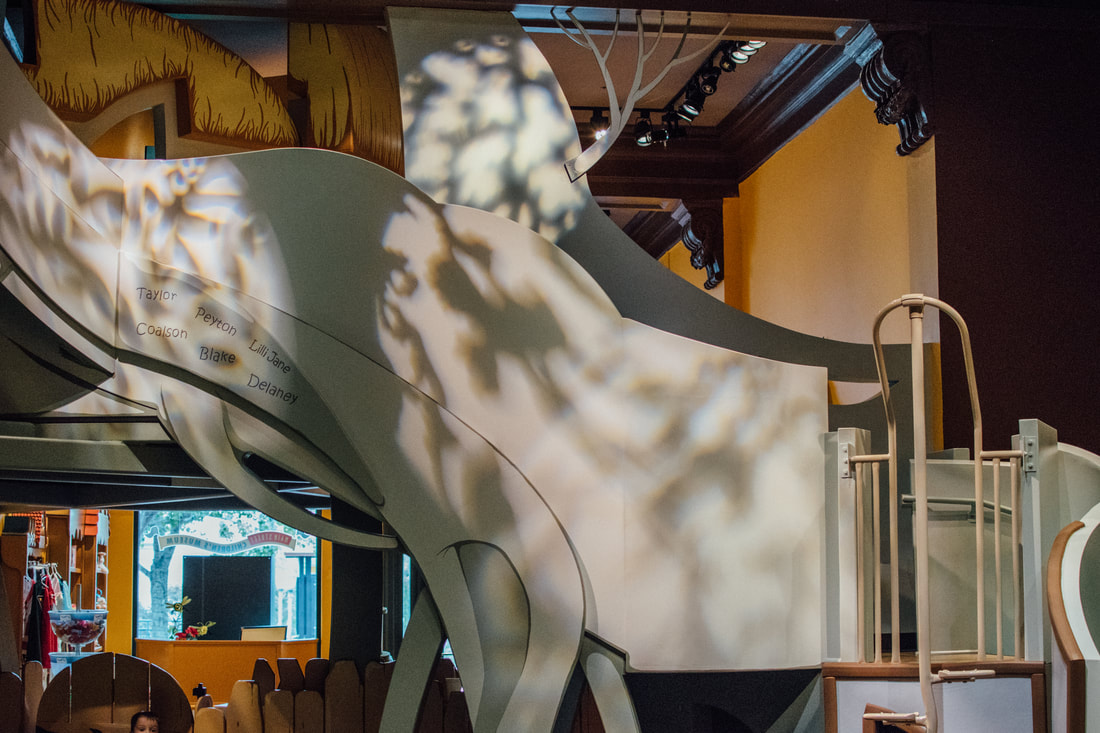 I thought this was just a tree house, but it's actually an elephant-shaped tree house! "The more you know!"
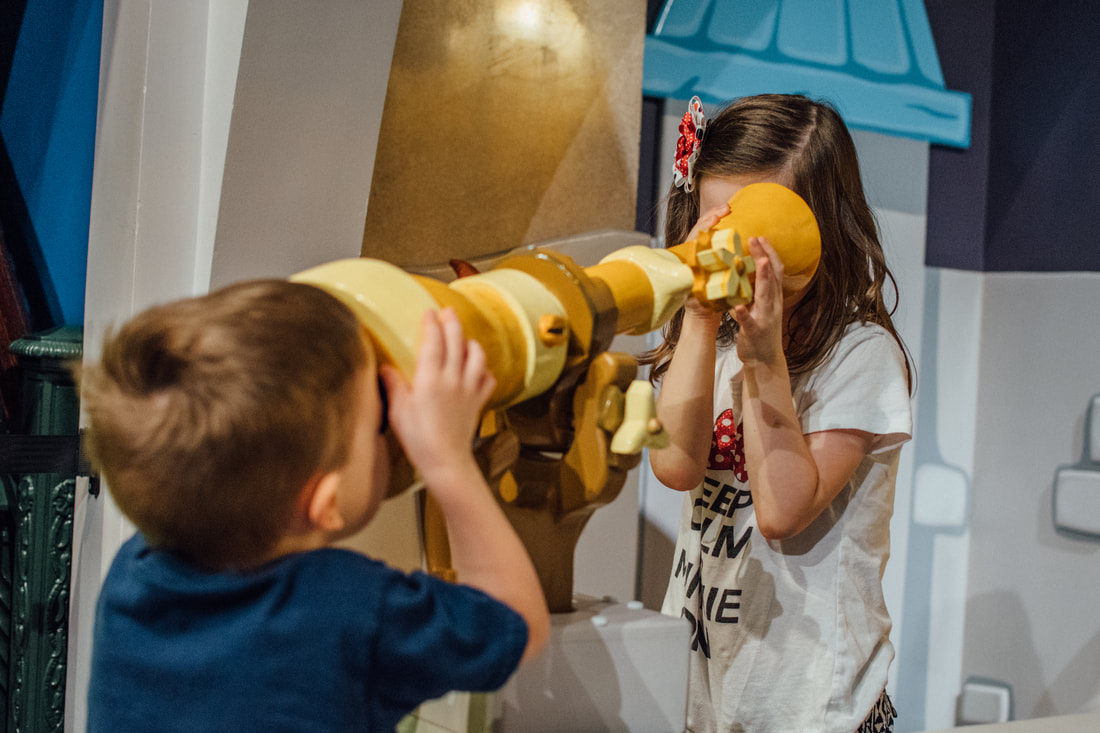
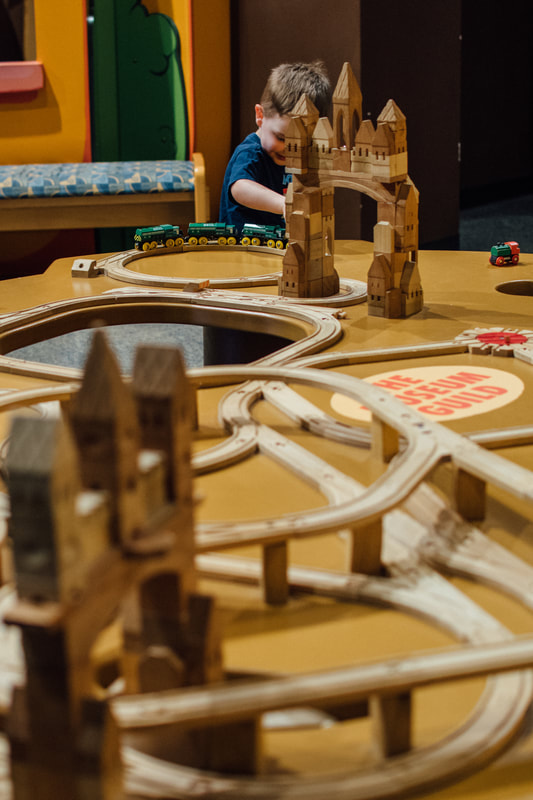
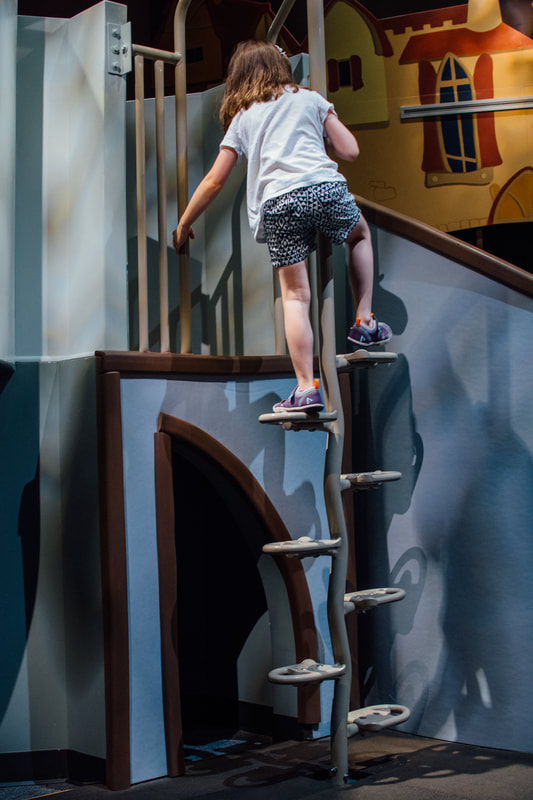
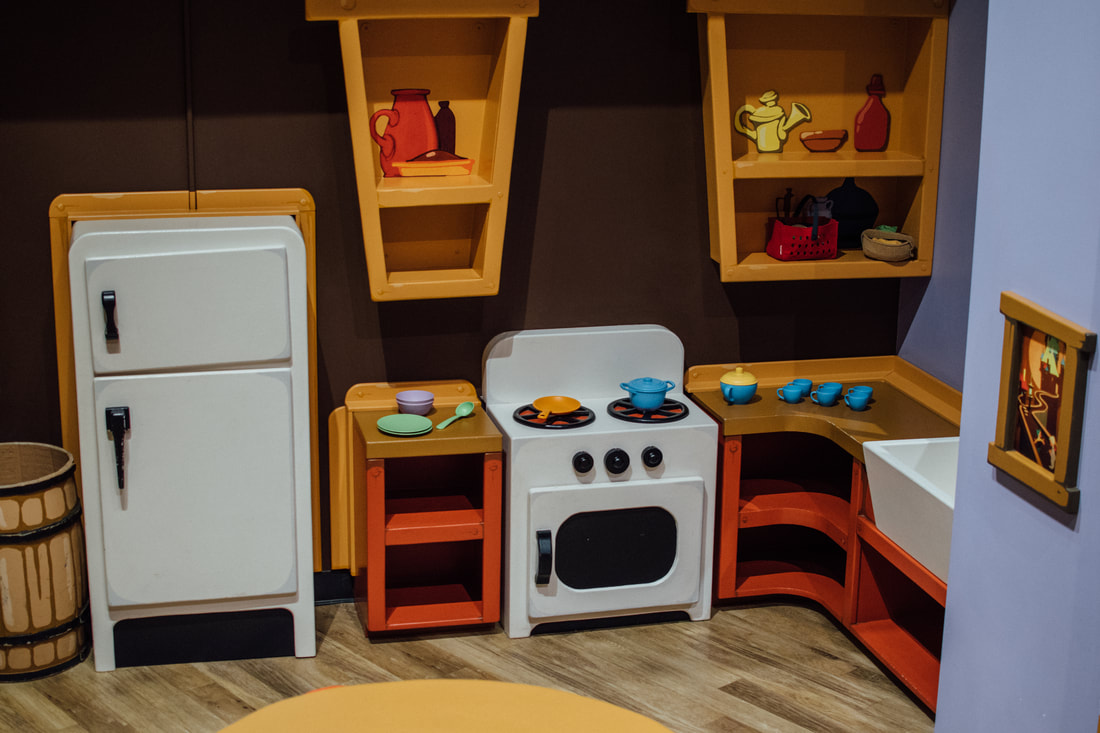
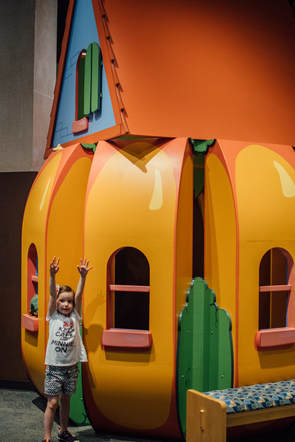
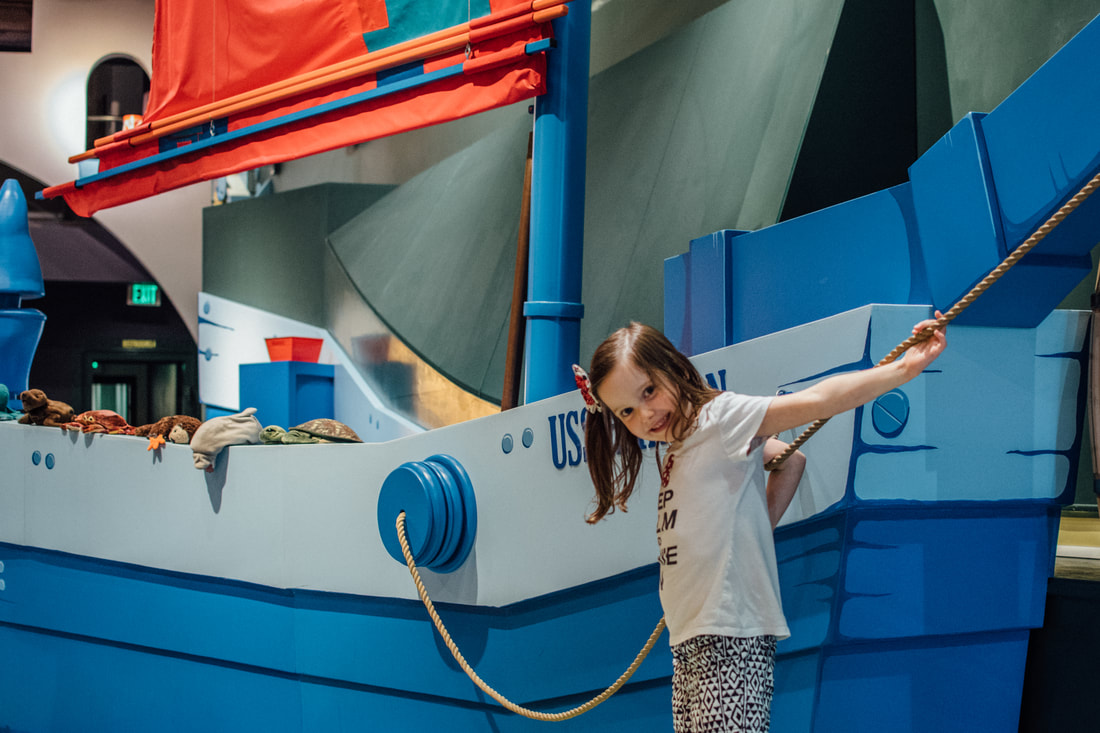
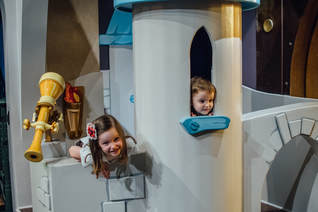
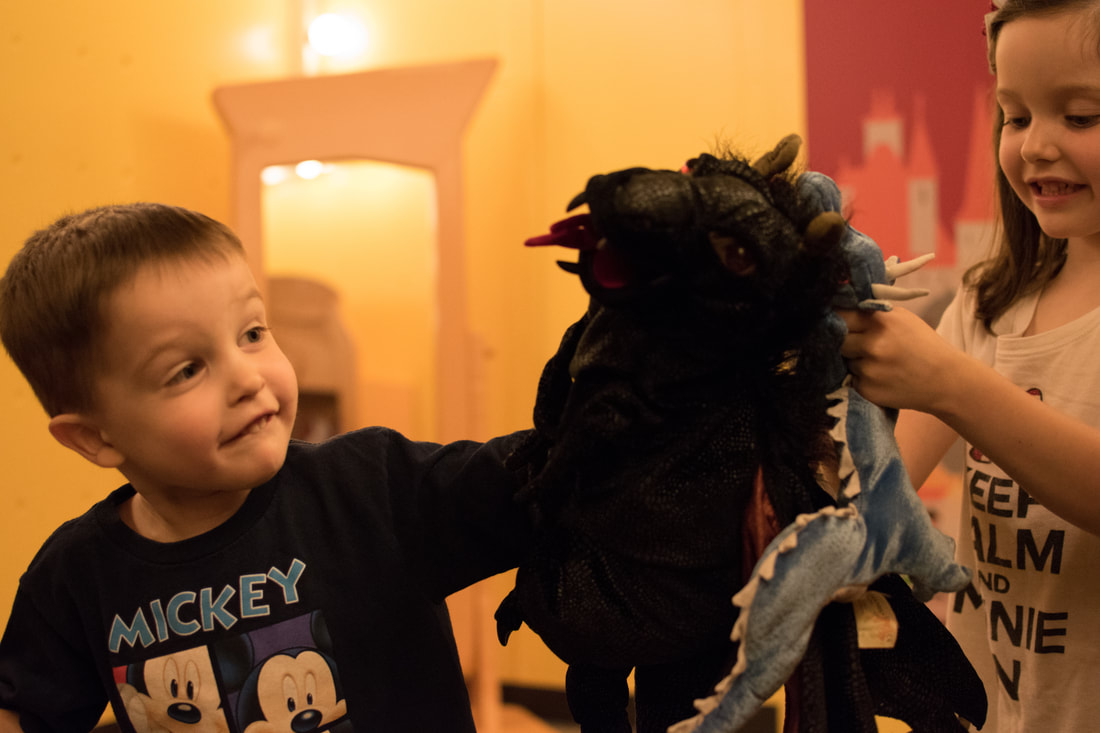
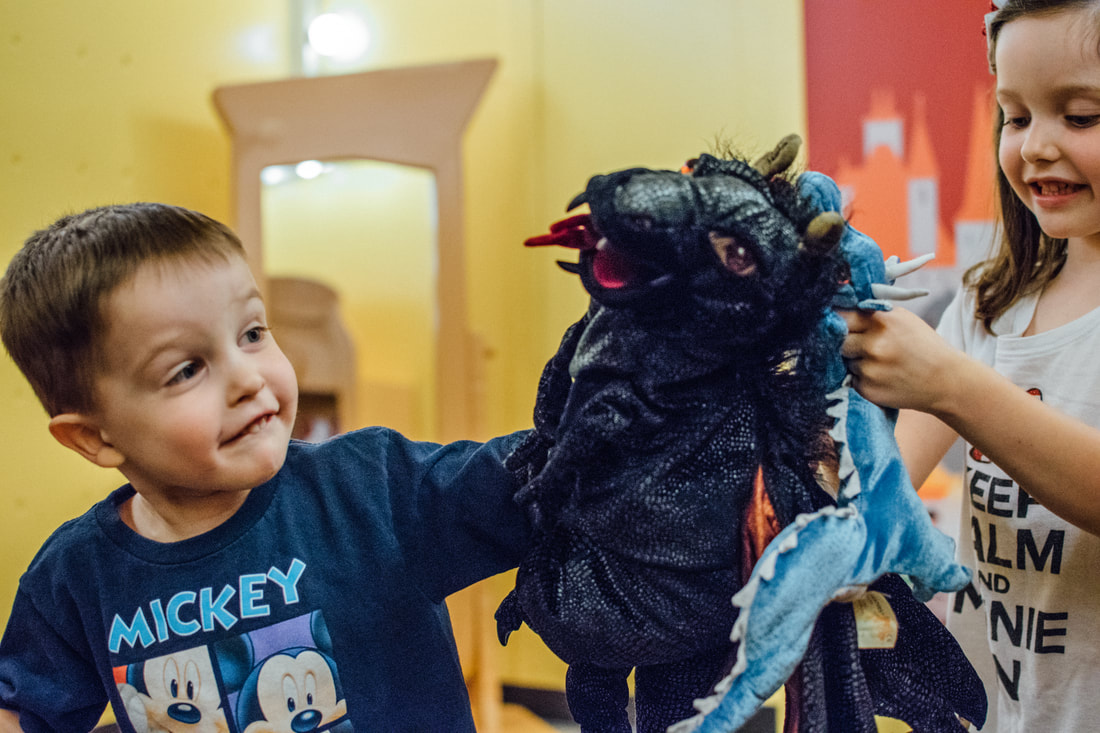
As you can see from the images above there is a lot of fun to be had in this nice little air-conditioned museum. It is not big enough to feel overwhelmed with two children running in different directions, but there are many parts to play pretend at. The list in order of L's favorites go like this (she was very specific about this when I asked): tree house, castle, dress up room, kitchen, ship, train track area, frog dance floor, puppet stage, pumpkin baby play area, pulley system, and gift shop. Sometimes the museum has special events, which are always well put together. One of the best things is how cheap it is to get in! Only $6 per person and babies are free. Take a look at their website by clicking here for more information. Let's talk photography now! If you will be bringing your DSLR camera with you I suggest taking your zoom lens. I took my 35mm prime and regretted it partially because it was hard for me to get in the position I needed for some of the shots I really wanted. One positive to taking my prime lens is that it provides a larger aperture (opening in the lens) so that I did not have to boost my ISO too much. When you increase your ISO you will notice more grain. The outside pictures from above had an ISO of 200, but then I changed the ISO once I got inside to 1000 and then to 2500 because I was not getting a shutter speed high enough to get clear pictures. I mainly used manual mode instead of shutter priority or aperture priority because the lighting inside is wonky (yes, that's a technical term). This is one of the main reasons learning how to use manual mode is important. Most of the pictures were an aperture of f/2.5 or f/3.5 because the lighting was low. I try to keep my shutter speed at 1/160 or more while the kids are in play mode because I want to capture movement. If they are running I want it to be higher. I did take a couple of the pictures at 1/80 but the majority of those I did not share because they ended up blurry due to movement. The vibrant colors at this playful museum are wonderful to transport the kids into an adventure land full of fun, but not so fabulous when it comes to white balance issues! I kept my white balance on auto, but I definitely had to change the colors in post processing (edited in Lightroom). Here is an example of a SOOC (straight out of camera) shot verses the edited version. Note: I took these images in RAW instead of jpg so that I would have more control over editing.
Just because an image doesn't come out exactly like you want it to in your camera does not mean it is worthless. I loved this picture because it shows connection and the playfulness of my kids at this age. It's not perfect on photographic technicality, but it's perfect to me as their mom. This is a moment I will cherish forever!
I urge all of you to get out there and start taking pictures. Try using manual, aperture priority, or shutter priority modes. Don't be afraid of learning how to use your camera and don't worry about always getting the perfect shot! Follow me on Facebook for more tips and tricks. Click Here You may be asking yourself "Why would I take my camera to Target?" Well, let's face it, Target is like a vortex of time and money. You go in looking for one thing and come out with a cart full, and you may have forgotten to pick up that one thing you went in for. We have all been there! Since you are spending so much time and money at Target, it is an integral part of your life right now, so why not include a trip or two into your family photo album for this year? Will you get a few strange looks from fellow customers? Maybe. But you are capturing honest moments of your life so there is no need to care. Plus, you may inspire others to do the same thing! All images were taken with a Nikon D5500, Nikor 35mm 1.8 prime lens, and in aperture priority mode. I kept the aperture at 2.8 because I wanted to have the blurred background and foreground. 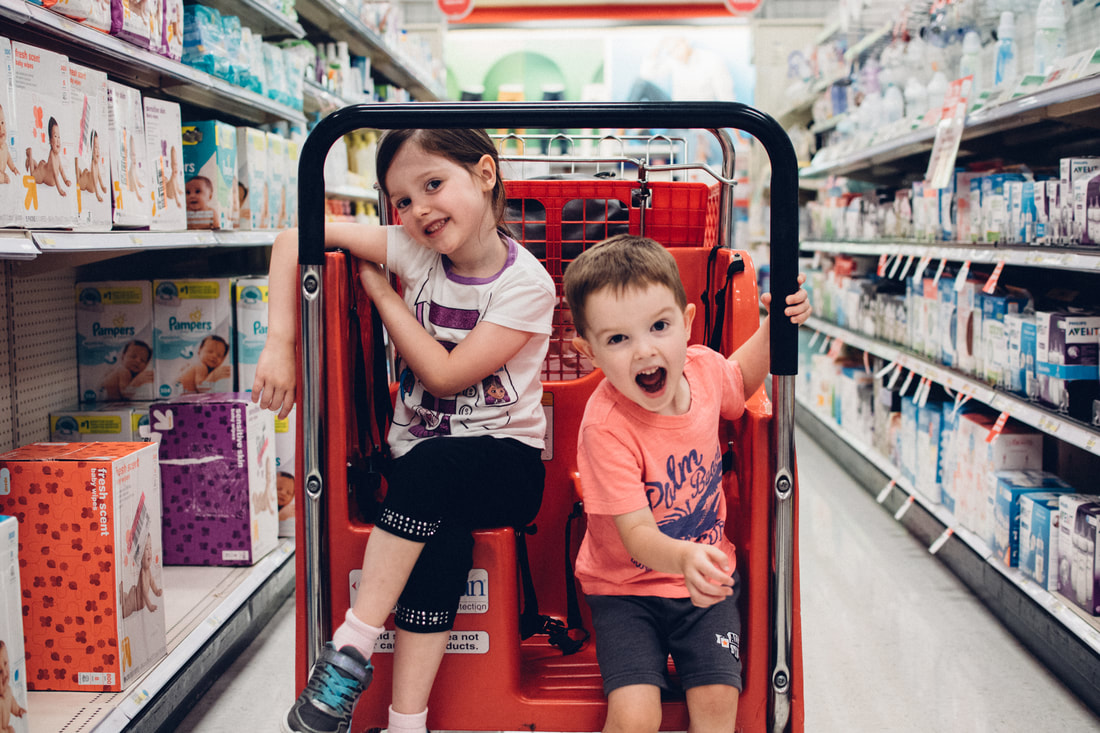 Romping around the Rock Hill Target This is an aisle I hope we will not be visiting again soon. My baby is 3 years old now (even though he is the size of a 5 year old) and we are in the midst of the dreaded potty training. He is a strong-willed child, so it has been proven to be a bit difficult. My home is strewn about right now with Paw Patrol underwear, potty chairs, reward charts, and stickers galore! I know this image above is not perfect as the focal point is slightly behind them, but when you get a silly face like that on an image you need to share it. Notice I did not have him strapped in at this point. You will see in my progression through Target that he is strapped in by the last picture! Those of you with 3 year old boys understand why. How did I create this image? ISO: 1600 (higher ISO because it was not great lighting and I needed a higher shutter speed to capture movement) Aperture: f/2.8 Shutter speed: 1/250 I set up the cart half way down the aisle and moved myself back far enough to where I could get the shelves to create lines that bring your eyes to the subjects (my kiddos). If I had more time and my son wasn't running toward me I would have moved the cart towards the middle of the aisle more to create a better mirrored image of the shelving on both sides and not cutting off the kids feet. But, every time I capture an image I think about how I can improve upon it next time. This will be a nice picture for the family album! 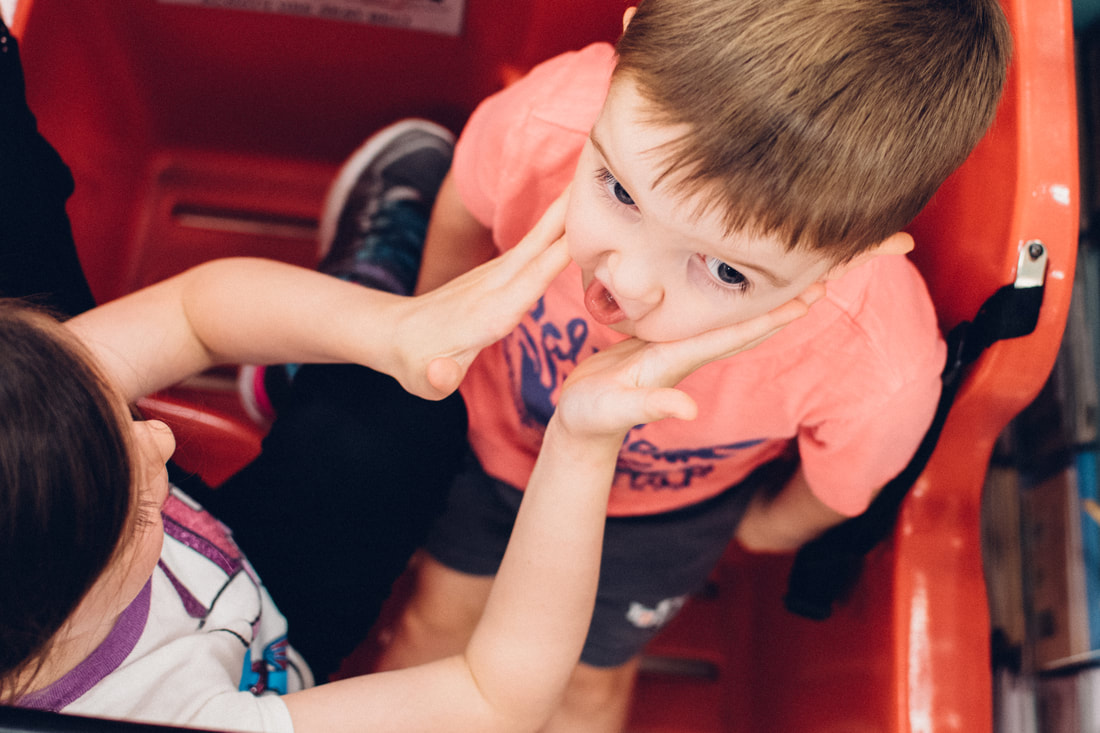 Squishy Face How did I create this image? ISO: 1600 (higher ISO because it was not great lighting and I needed a higher shutter speed to capture movement) Aperture: f/2.8 Shutter speed: 1/160 I was lucky with this picture! Since I had my 35mm prime lens on my camera I could not zoom in or out, so I improvised. I took my camera over my head with my "go go gadget" arms and just started snapping, hoping I would get the right focal point and I was happy with the results of this one. L was giving T a squishy face and thankfully he thought it was funny rather than crying. Success! 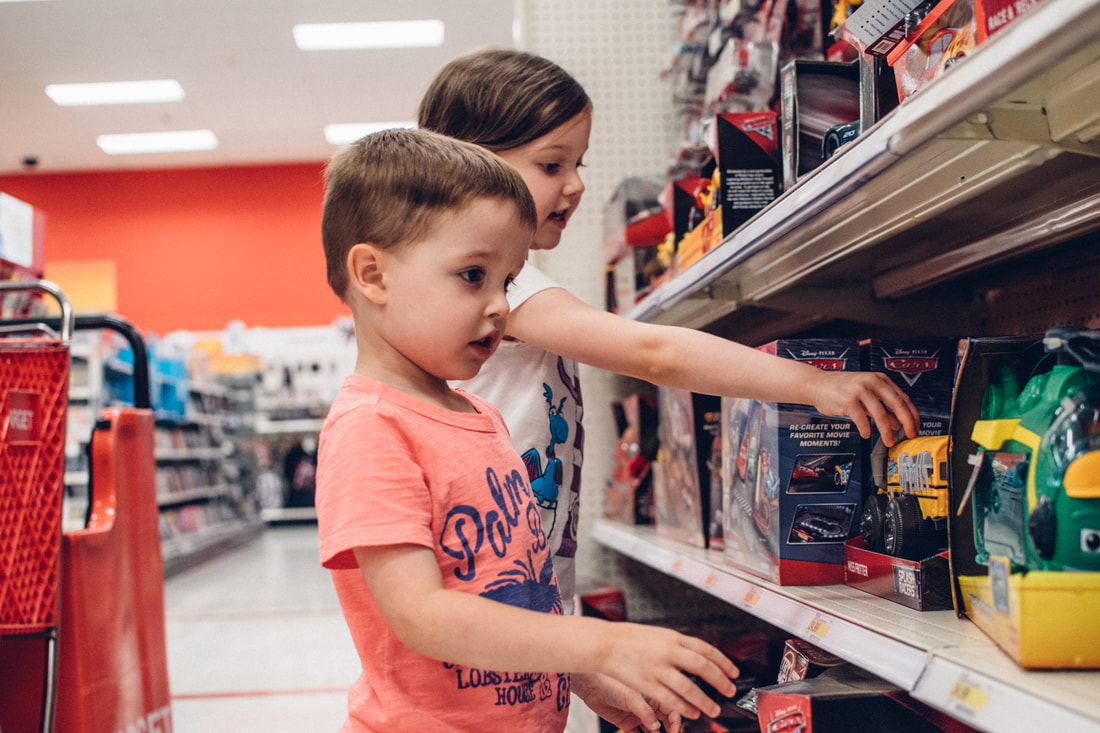 Toy time How did I create this image? ISO: 1600 (higher ISO because it was not great lighting and I needed a higher shutter speed to capture movement) Aperture: f/2.8 Shutter speed: 1/200 These two kiddos had been good while I shopped for the boring stuff I needed, so I promised a trip to "just look" in the toy aisle. I had taken several pictures at this point, but I liked this one the best because of the angle and how they are set up. I try my hardest not to purposely pose my kids because then they will hate it every time I take out the camera. I allow them to naturally move about and then I move around them. I bent down below their level and close to the shelving, which were the leading lines toward the subjects. I also liked how I can see both of their faces and that their arms are moving in the same direction. 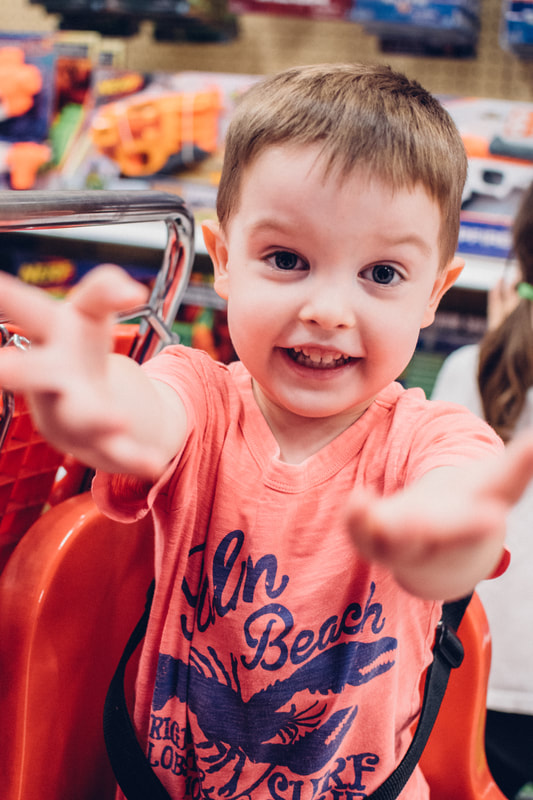 Straps necessary How did I create this image?
ISO: 1600 (higher ISO because it was not great lighting and I needed a higher shutter speed to capture movement) Aperture: f/2.8 Shutter speed: 1/125 As you can see T had be strapped in because he had decided to run away from me in the toy aisle and not follow directions. It was getting close to nap time and mommy was ready! Luckily T wasn't too upset about getting strapped in because he knew he wasn't listening. But it is hard to say no to this face! The aperture being at 2.8 gives some good bokeh (blurriness) to the foreground and background while his face is in focus. That was just one of our little trips to Target. An ordinary moment that becomes extraordinary years from now when looking back at these images. I know these pictures will transport me back to this time when both kids were still able to fit in the cart, T was full of energy and making the transition out of diapers, and L was such a good listener. My camera helps me to take a step back and observe life at this moment in time. It makes me slow down and recognize that all these moments pass way too fast. I hope that photography does the same for you! Please feel free to like my Facebook page (click here) to keep up on other posts that include photography tips and my parenting worldly nonsense. Note: Images were taken in RAW and edited in Lightroom. |
AuthorLarisa is a natural light photographer and teacher in the Rock Hill, SC and Charlotte, NC area. Archives
January 2023
Categories |


 RSS Feed
